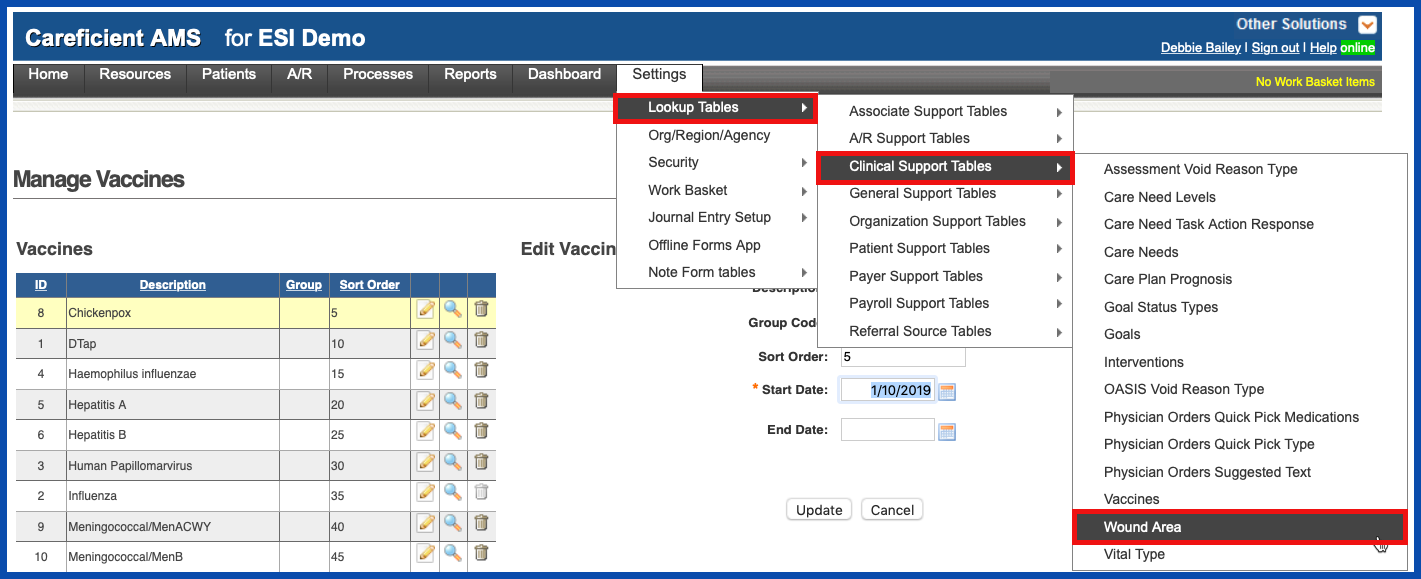
WOUND AREA
To add a Wound Area, go to Settings > Lookup Tables > A/R Support Tables > Wound Area
NOTE: For Careficient Agency Administrators, click here to learn more about the privileges for Wound Area.
ADD WOUND AREA
To add a new Wound Area, click on the "Add Wound Area” link
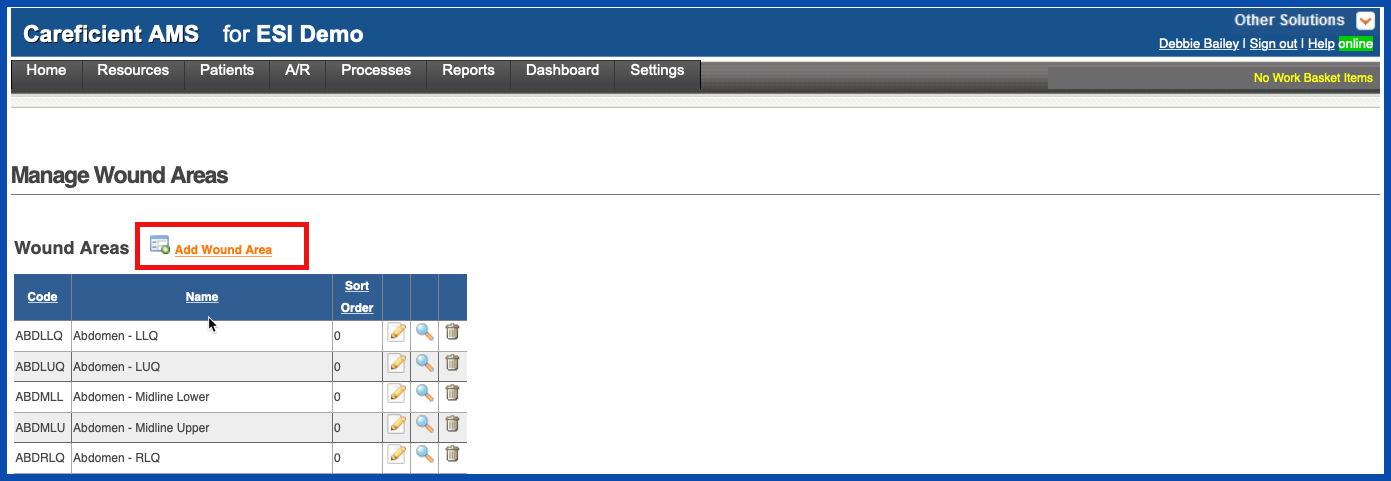
Enter the required information and click "Add".

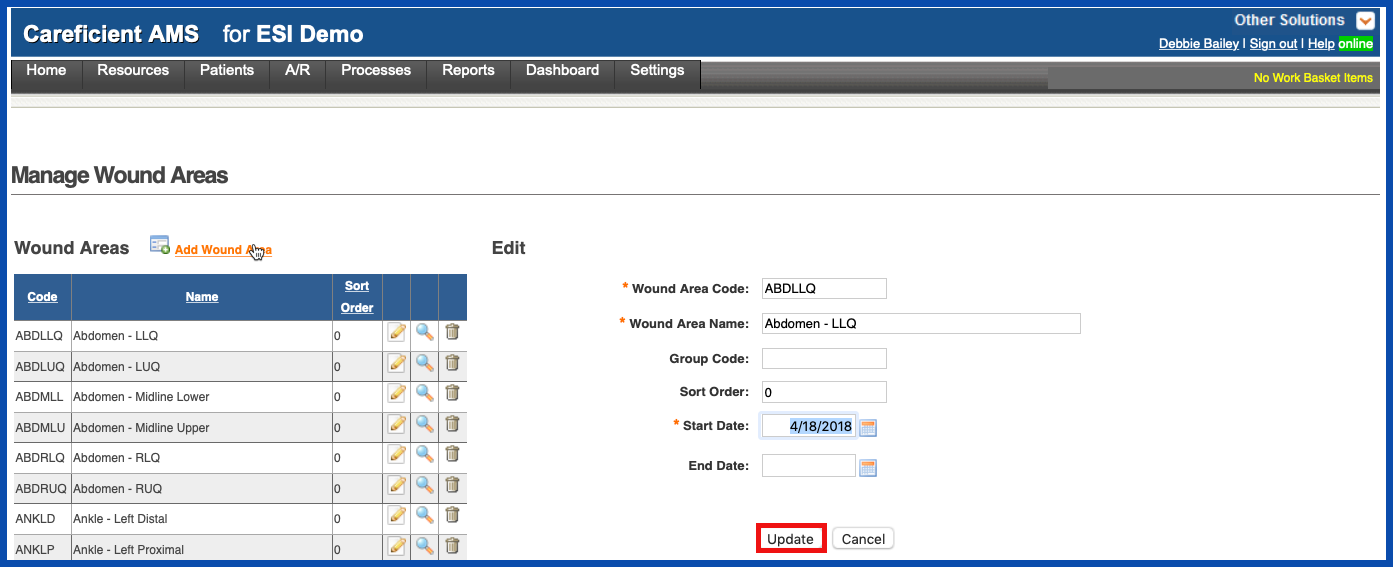
EDIT WOUND AREA
To edit a Wound Area, click on the edit pencil. You can also end a Wound Area by adding an end date.
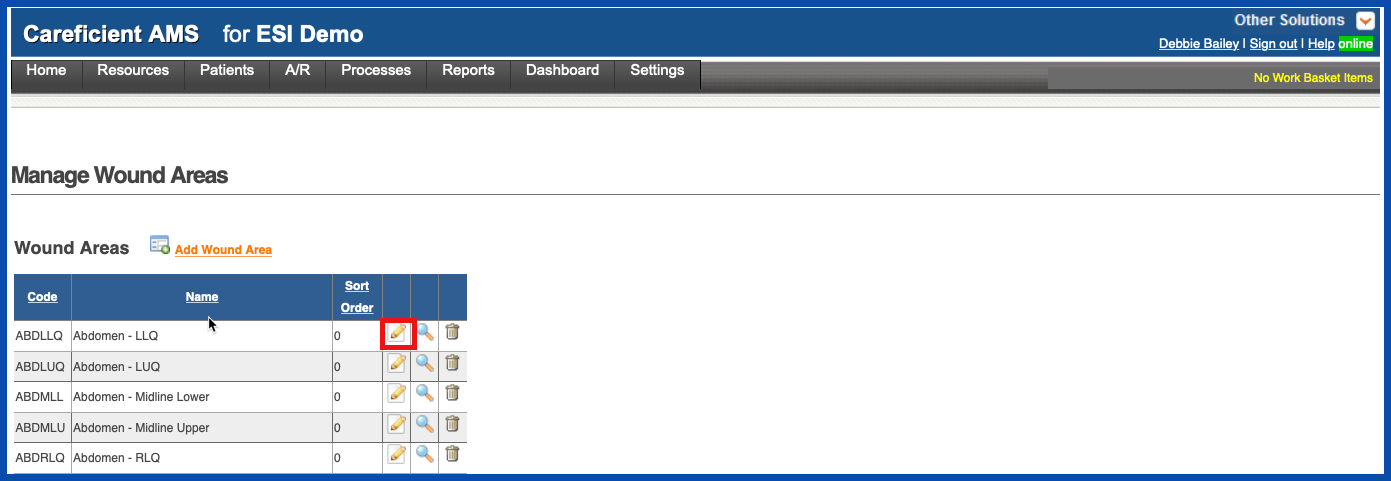
Make your changes and click on the "Update" button.
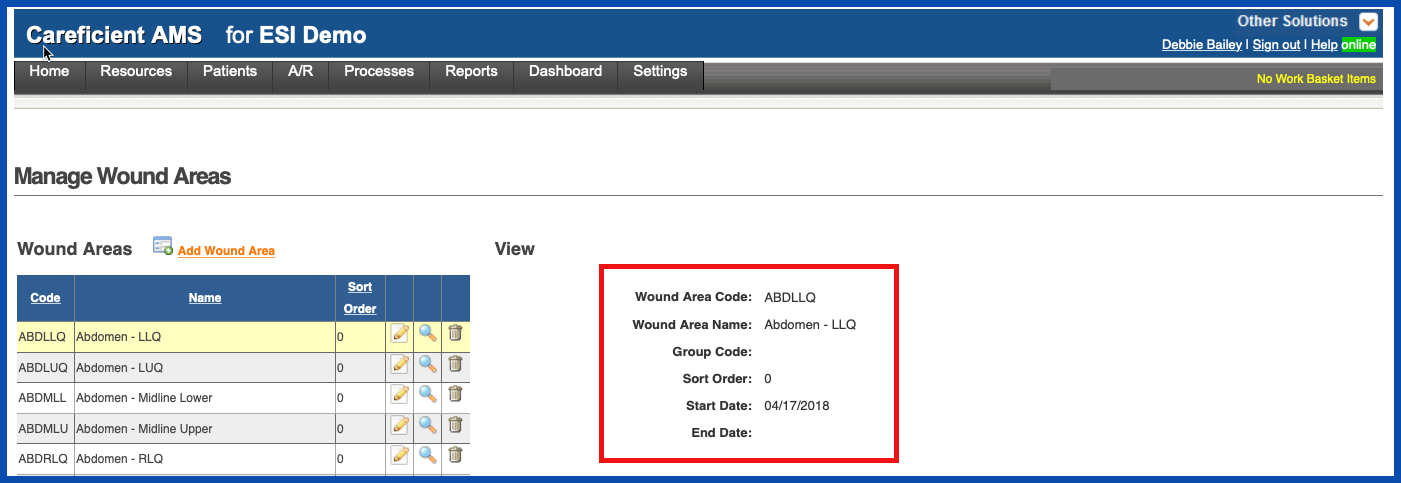
VIEW WOUND AREA
To view a Wound Area, click on the magnifying glass

The Preview Screen appears
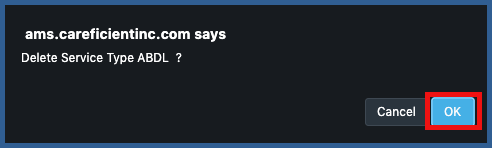
DELETE WOUND AREA
To delete a Wound Area, click on the trash can
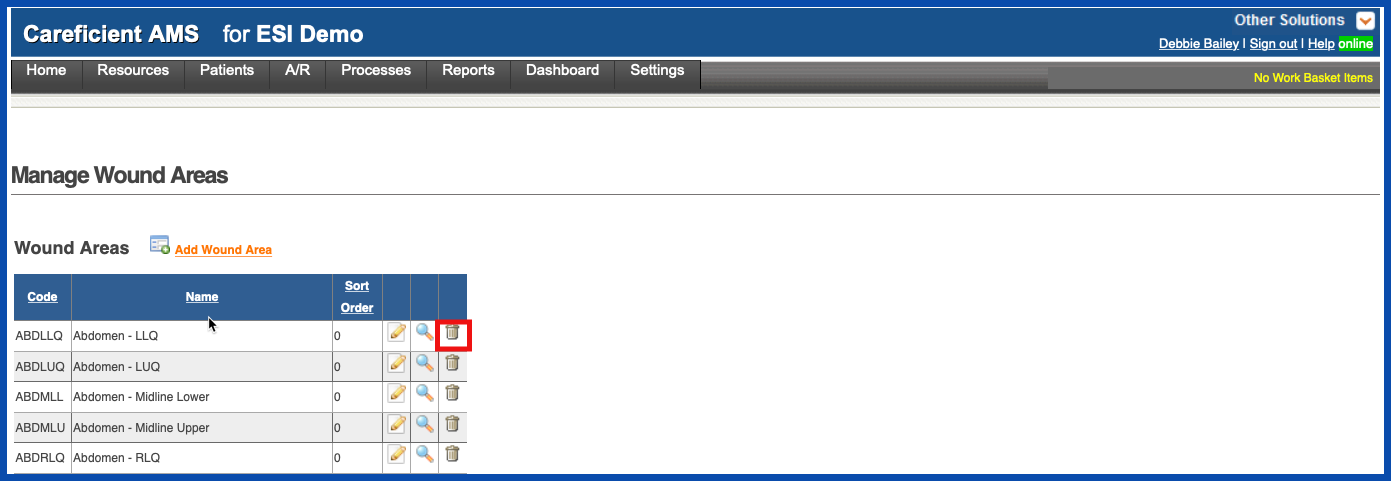
You will be asked if you are sure you want to delete. Click "OK" to confirm.