PERSONAL (Top)
Under "Personal", there is an edit link that you can click on to change any of the associates personal information.
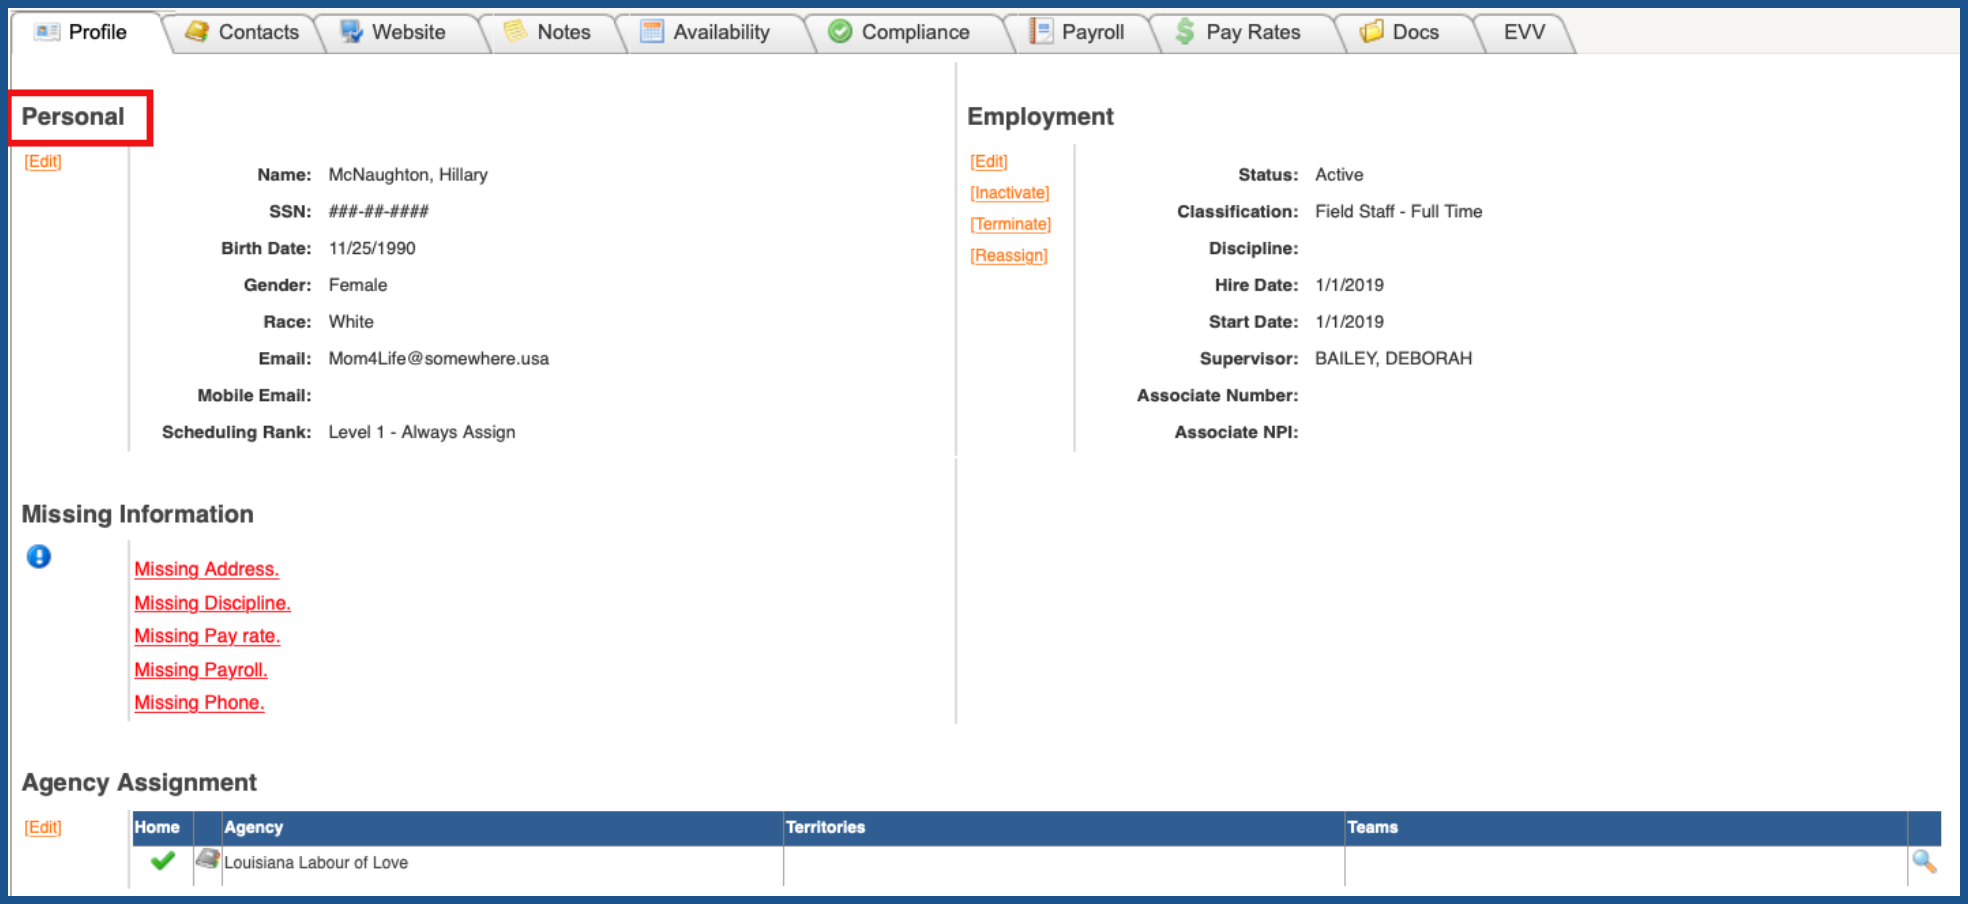
Click on the edit link
NOTE: For Careficient Agency Administrators, click here to learn more about the privileges for Edit Associate.

Change information as needed and click "Save".
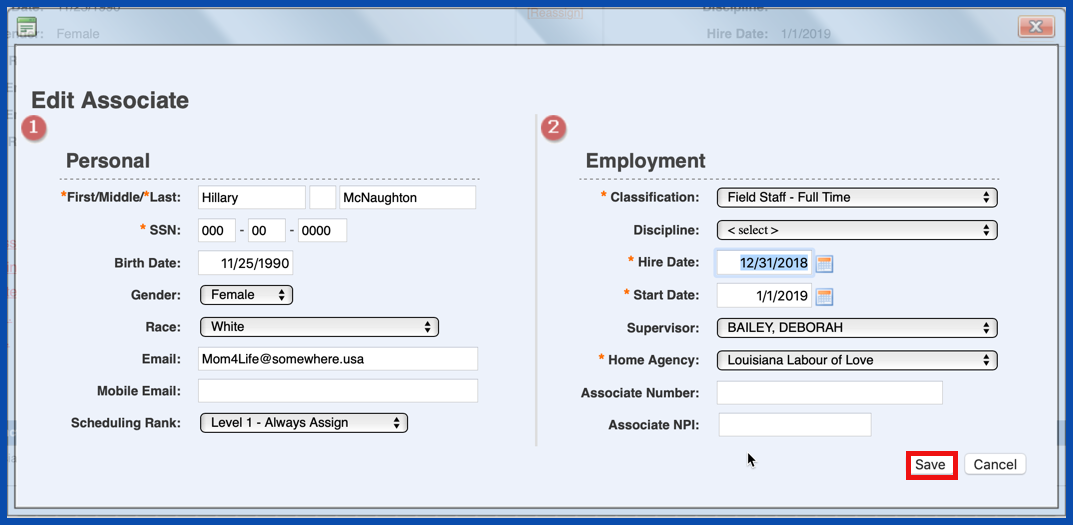
You can attach a photograph of your Associates and Patients to their master file record. These photographs will display within the Personal section on the Profile tab. To attach an Associate’s photograph, the picture must be saved on a local device that can be used to access the Careficient application.
NOTE: For Careficient Agency Administrators, click here to learn more about the privileges for Add Associate Picture and Do Not Allow Access To Associate Pictures.
Click Upload Picture

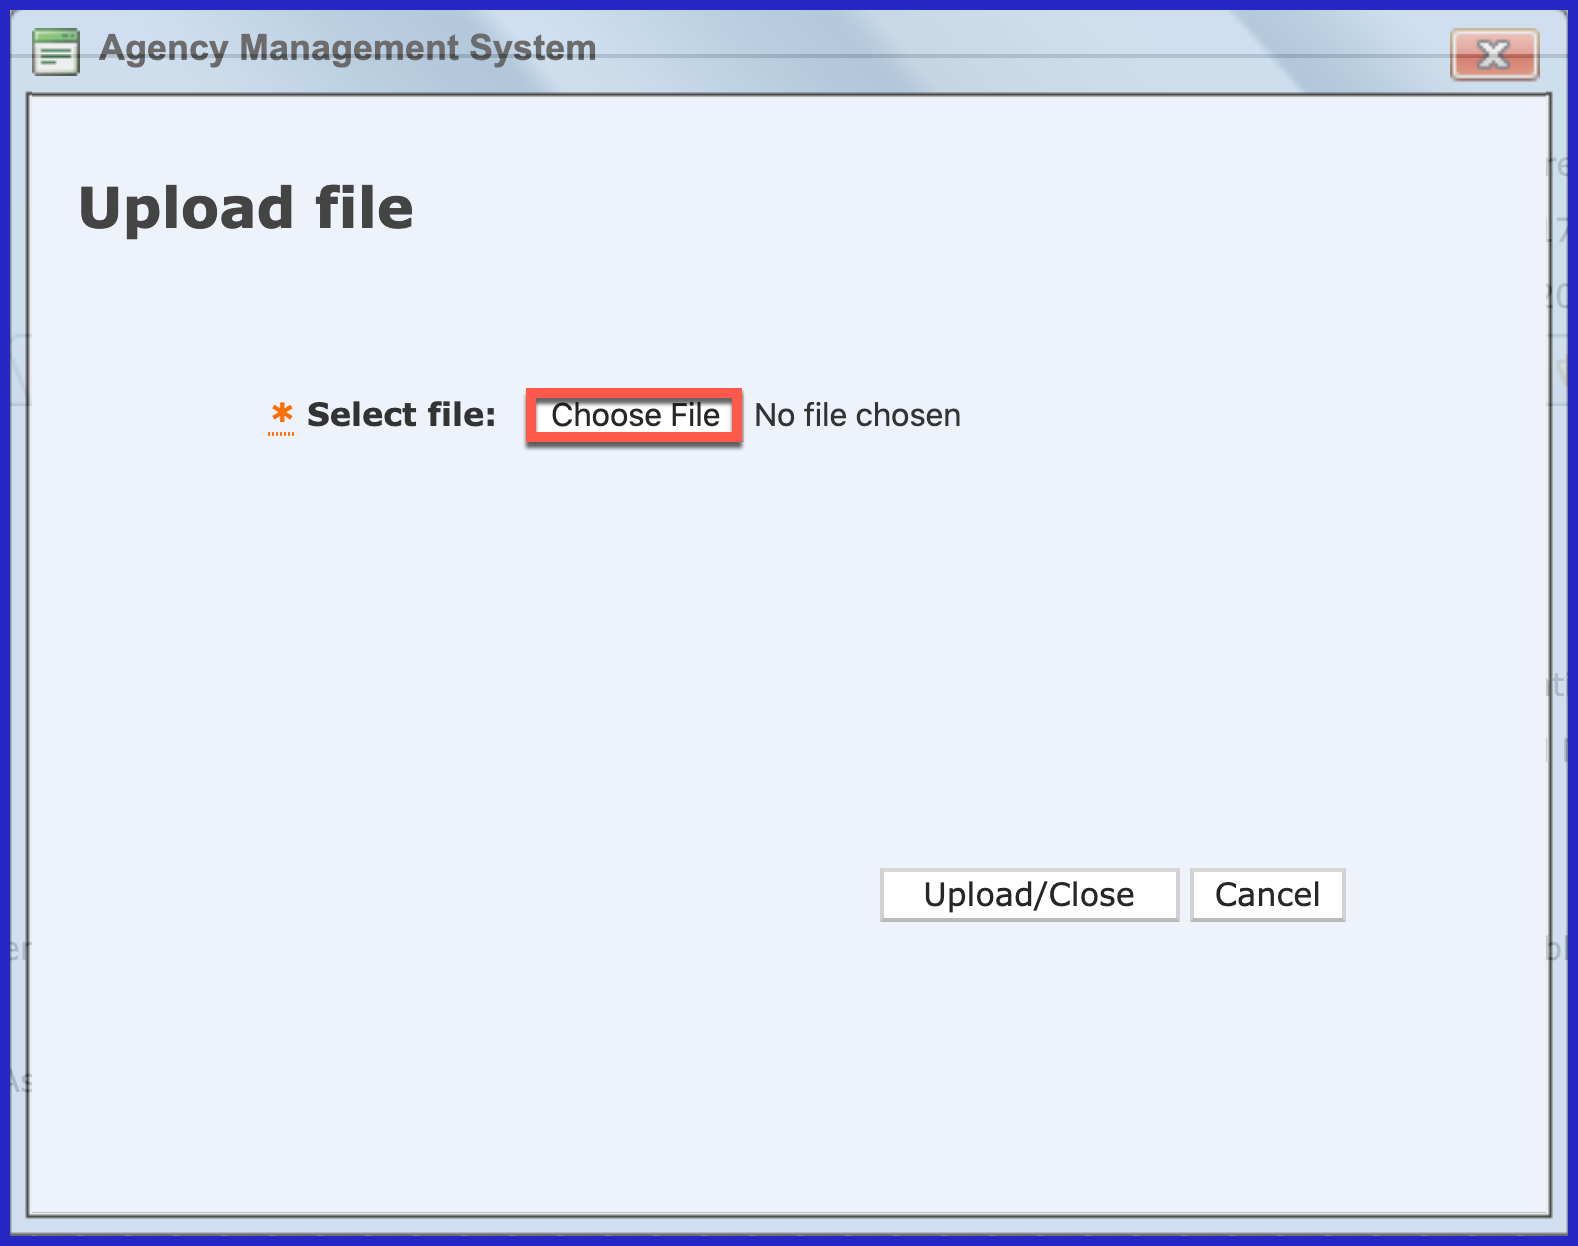
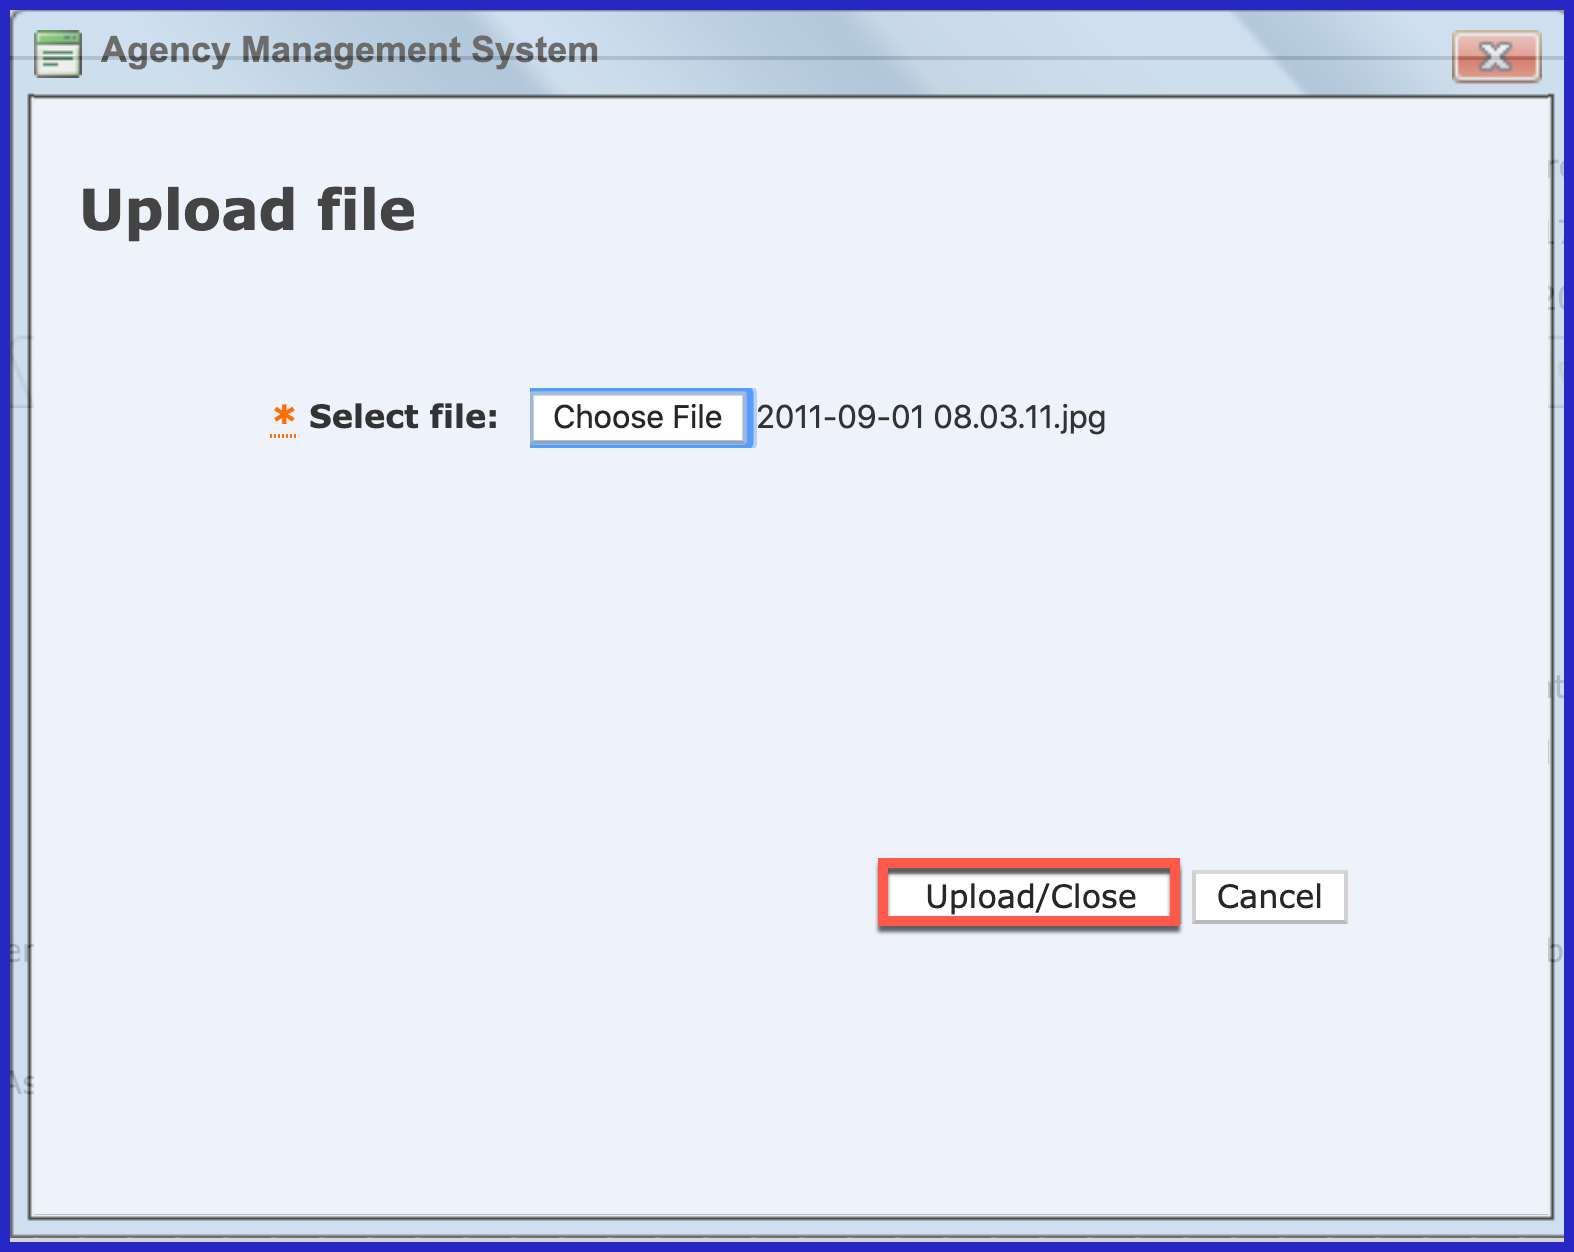
Click Choose File
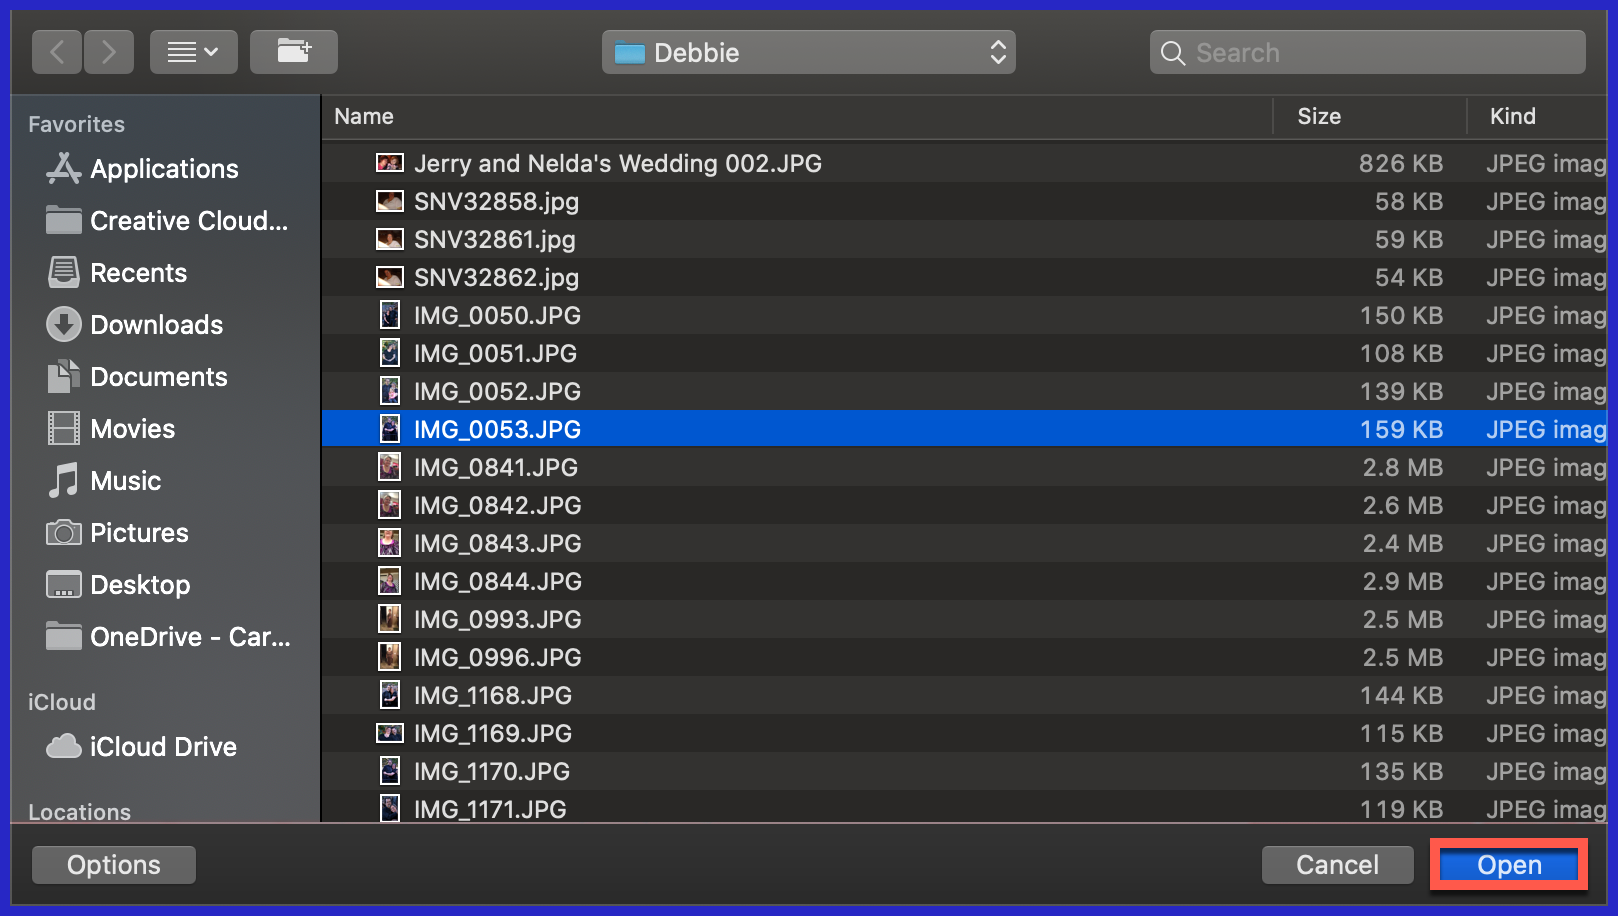
Choose your file and click Open
Click Upload/Close
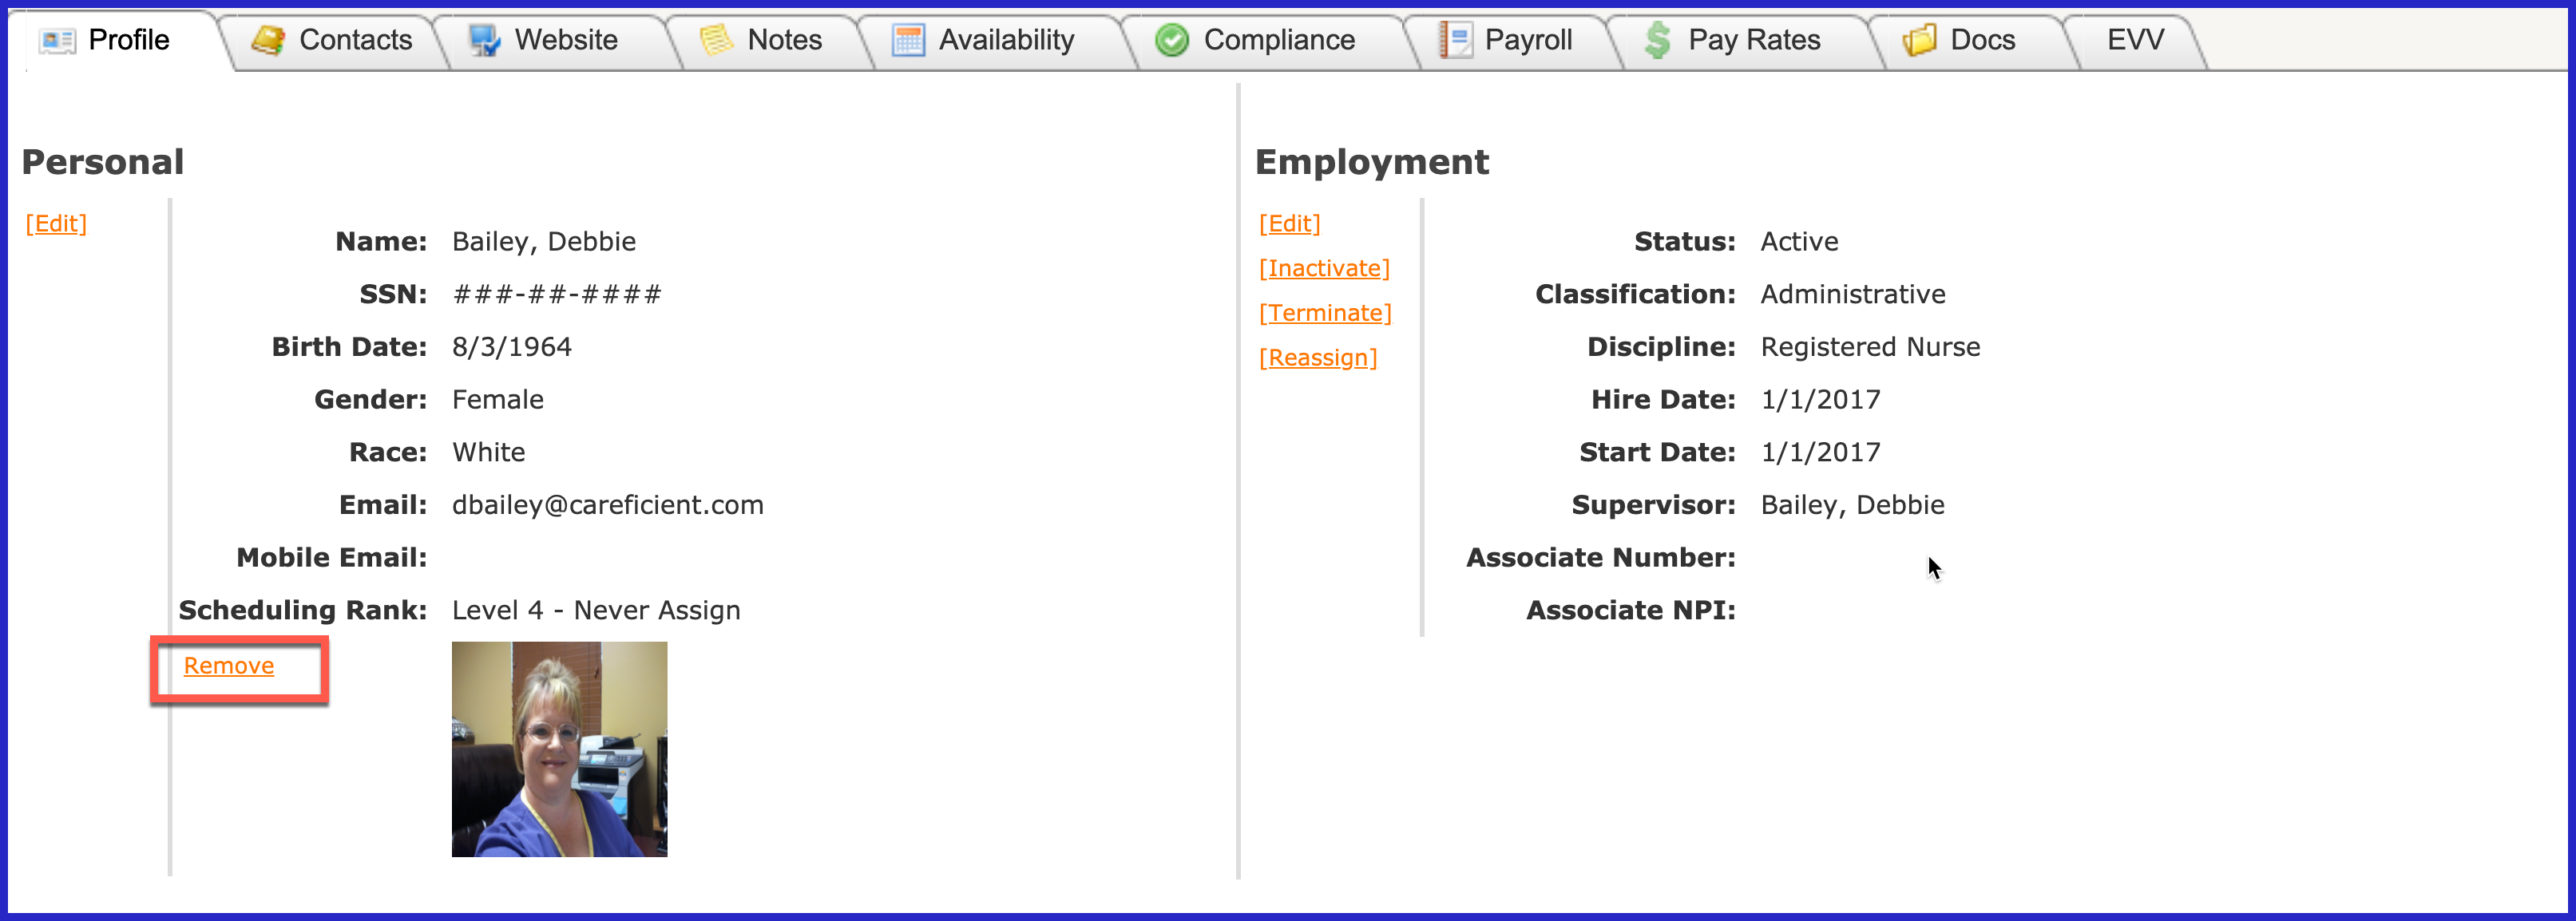
Your photo appears. You can also remove the photo by clicking on the "Remove" link.
NOTE: For Careficient Agency Administrators, click here to learn more about the privileges for Remove Associate Pictures.
EMPLOYMENT (Top)
Under the "Employment" section, you have the following options:
- Edit
- Inactivate
- Terminate
- Reassign

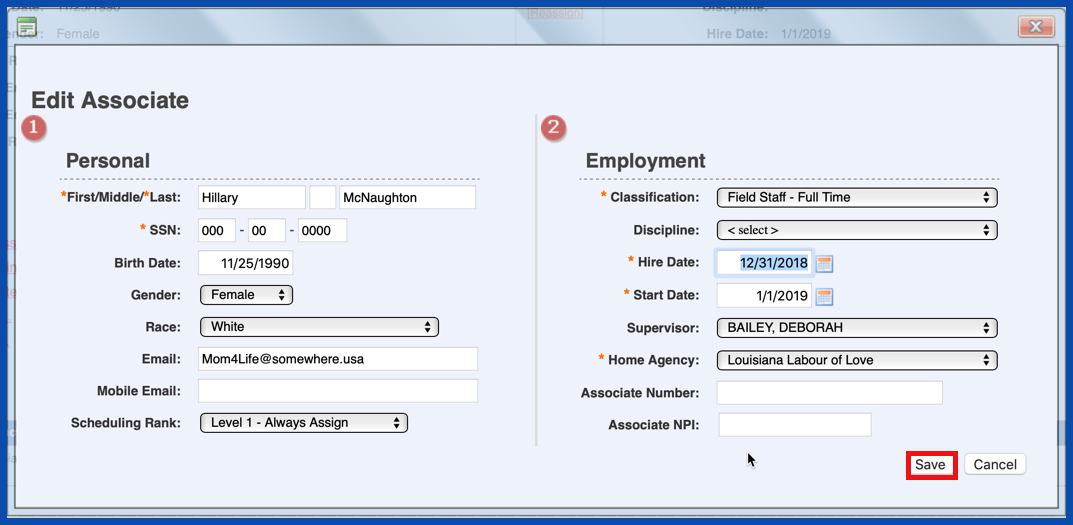
Click on the "Edit" link to change Employment information.
NOTE: For Careficient Agency Administrators, click here to learn more about the privileges for Edit Associate.

Change the information needed and click "Save" when finished.
INACTIVATE ASSOCIATE (Top)
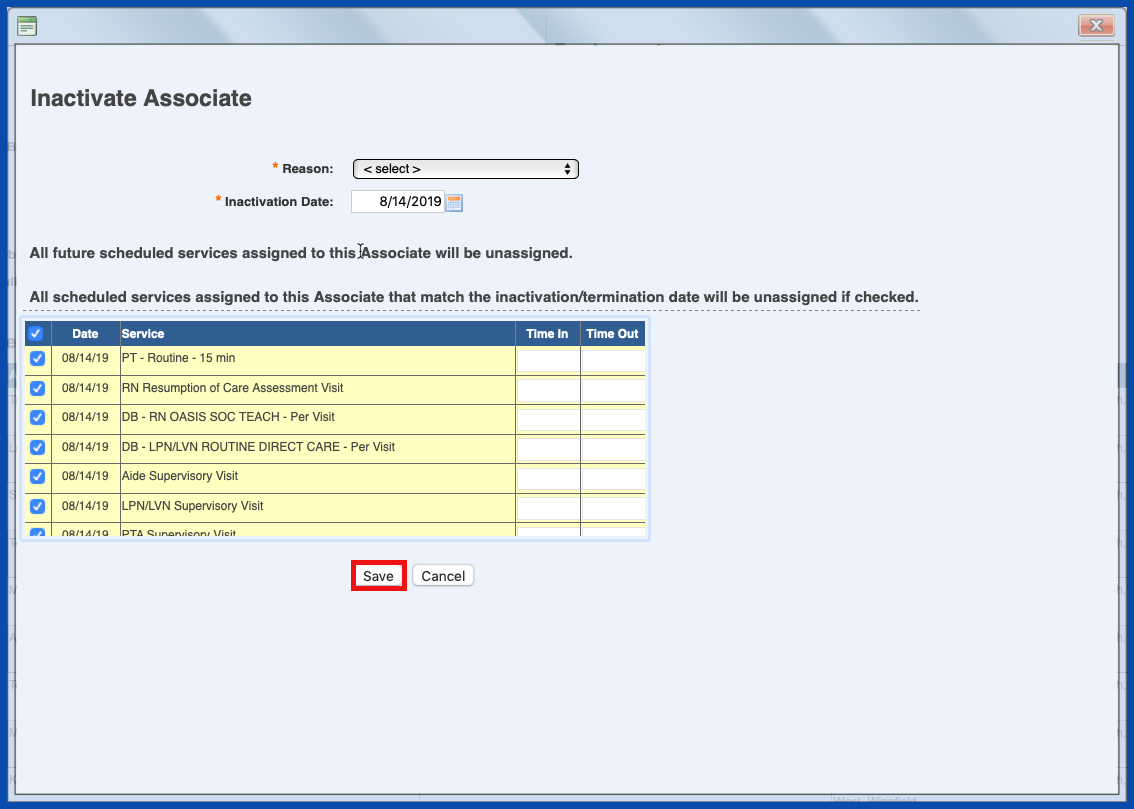
Click on the "Inactivate" link to inactivate an associate.

REACTIVATE ASSOCIATE (Top)
You will choose the "Reason" for inactivate, the date and will notice that you have messages notifying you that they associates future scheduled services will be unassigned. You will see a list of services assigned to the associate with the same date as the inactivation/termination date. You will need to check the services that you want removed for that date. Click "Save" when finished.
NOTE: For Careficient Agency Administrators, click here to learn more about setting up Inactive Reason Type in the lookup tables.
TERMINATE ASSOCIATE (Top)
You have the option to "Terminate" the associate by clicking on "Terminate"

Enter the reason for termination, whether or not eligible for rehire, the date and you will also notice here that you have messages notifying you that they associates future scheduled services will be unassigned. You will see a list of services assigned to the associate with the same date as the inactivation/termination date. You will need to check the services that you want removed for that date. Click "Save" when finished.
NOTE: For Careficient Agency Administrators, click here to learn more about setting up Inactive Reason Type in the lookup tables. 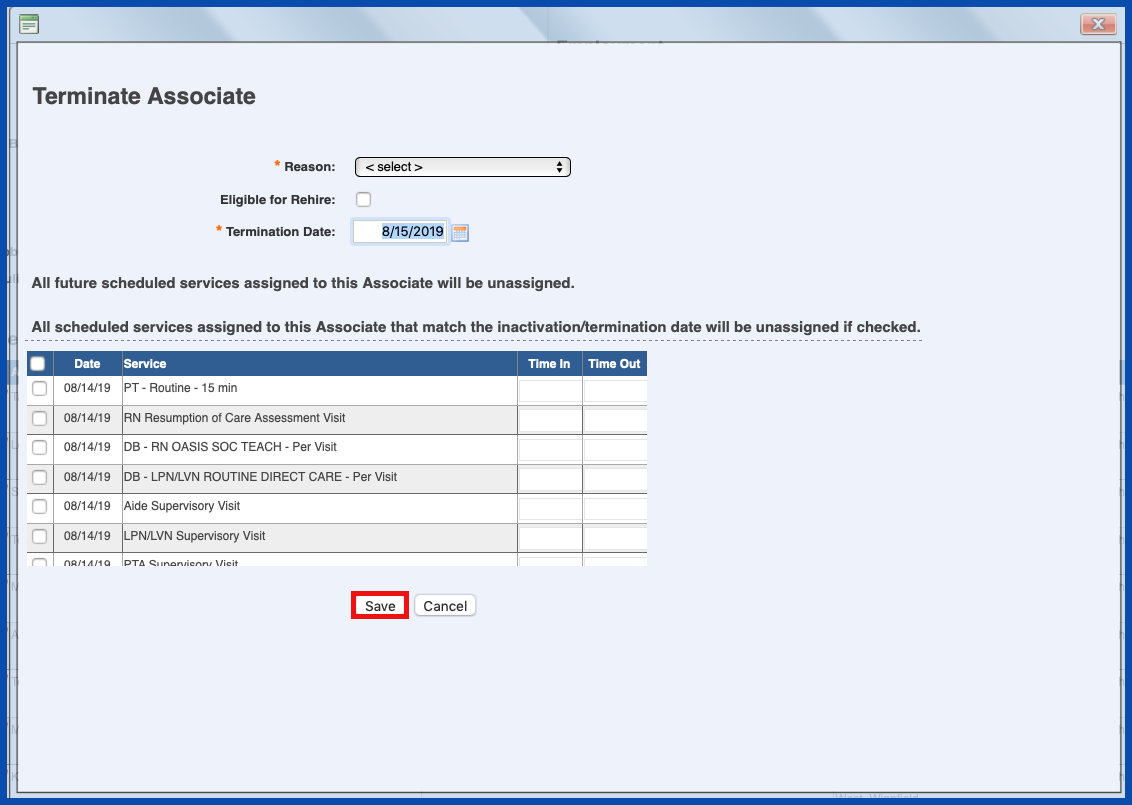
REASSIGN (Top)
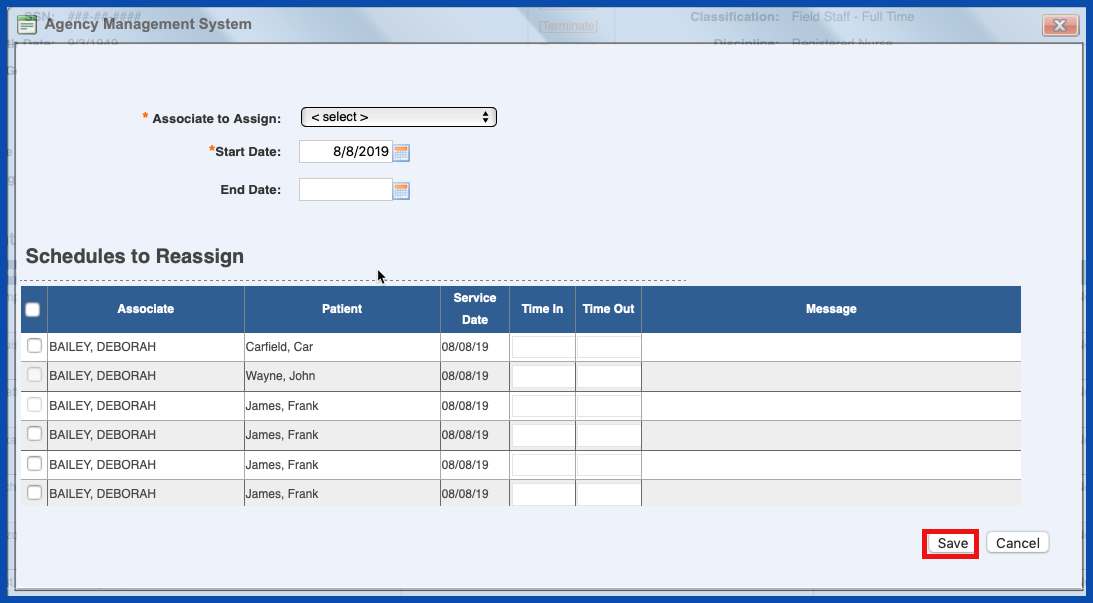
You can reassign visits as well from here by clicking on "Reassign".

Choose the associate you wish to reassign to, enter the start date and end dates for those visits, choose the specific visits and click "Save" when finished.
AGENCY ASSIGNMENT (Top)
The "Agency Assignment" was setup when you created the associate file but you can also add specific "Territories" and "Teams" for this associate by clicking on the "Edit" link under "Agency Assignment".

Click the "Edit" link
NOTE: For Careficient Agency Administrators, click here to learn more about the privileges for Edit Associate.

Choose the "Agency", the "Teams" and the "Territories" that you want this associate to have access to. Click "Save" when you are finished.
NOTE: For Careficient Agency Administrators, click here to learn more about setting up Teams in the lookup tables. To setup "Territories", see the "Org/Region/Agency Territory Tab".
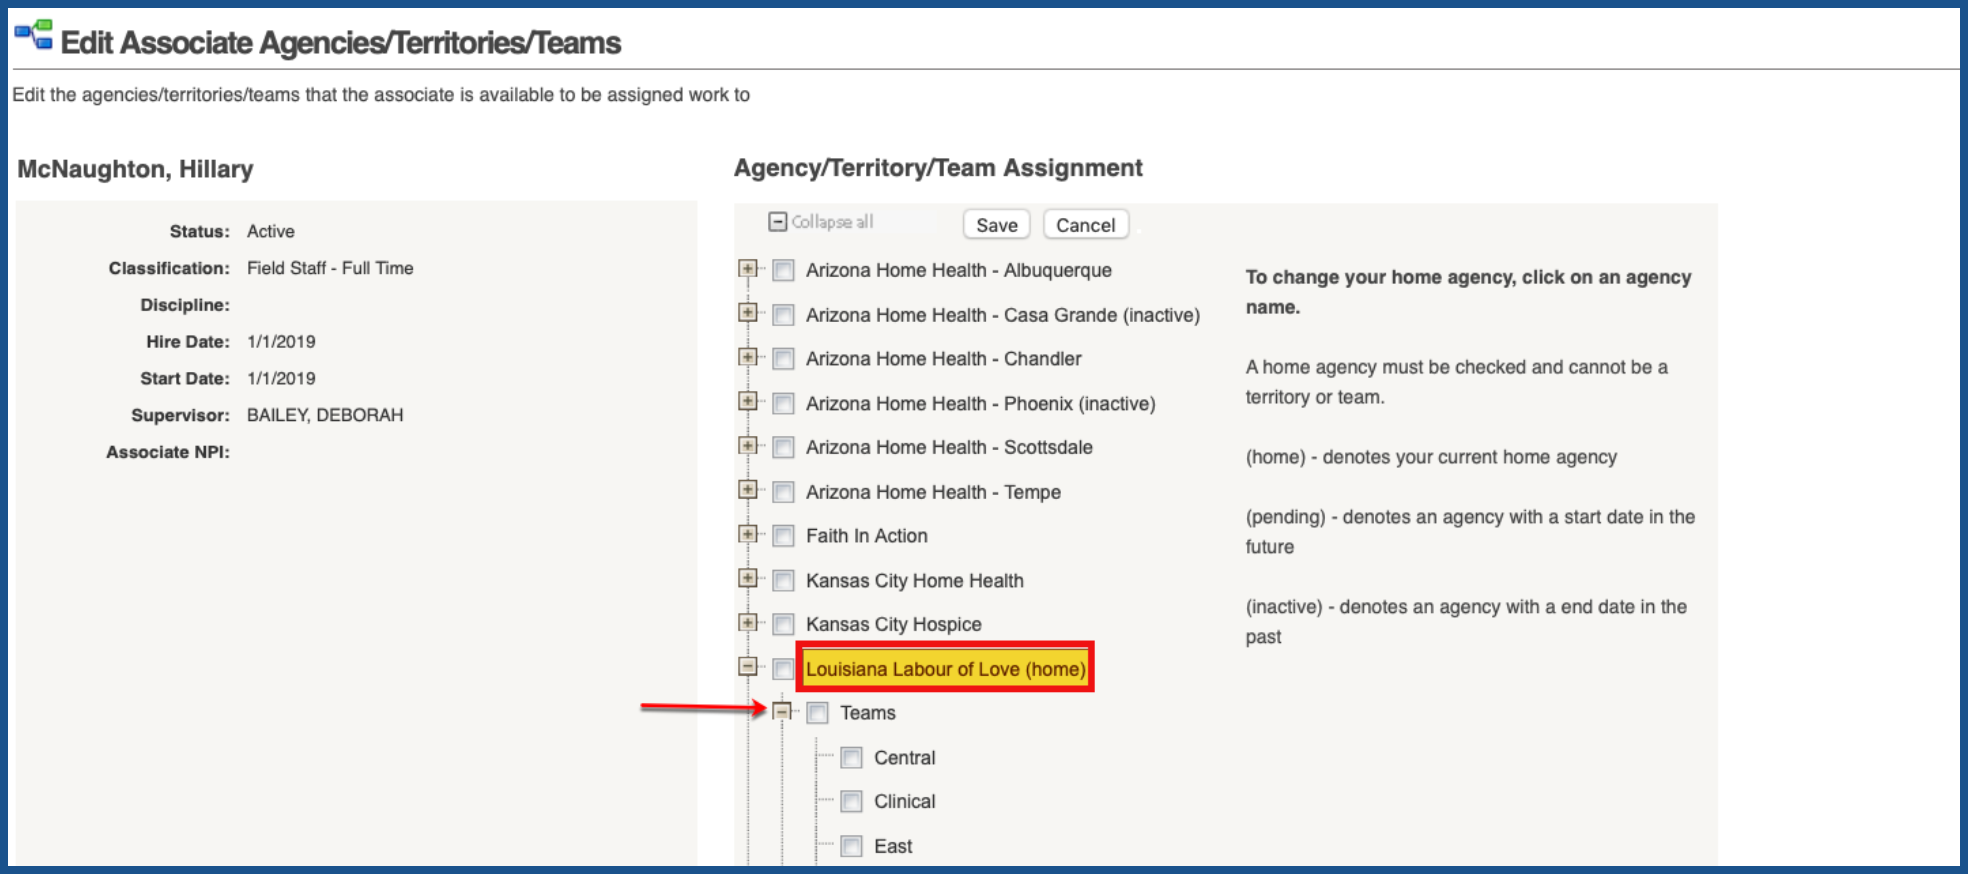
You will now see that the "Territories" and "Teams" populate on the Profile Tab under the "Agency Assignment".
