To add an associate click on the Add Associate link
NOTE: For Careficient Agency Administrators, click on the following to learn more about “Associate” privileges: Add Associate.

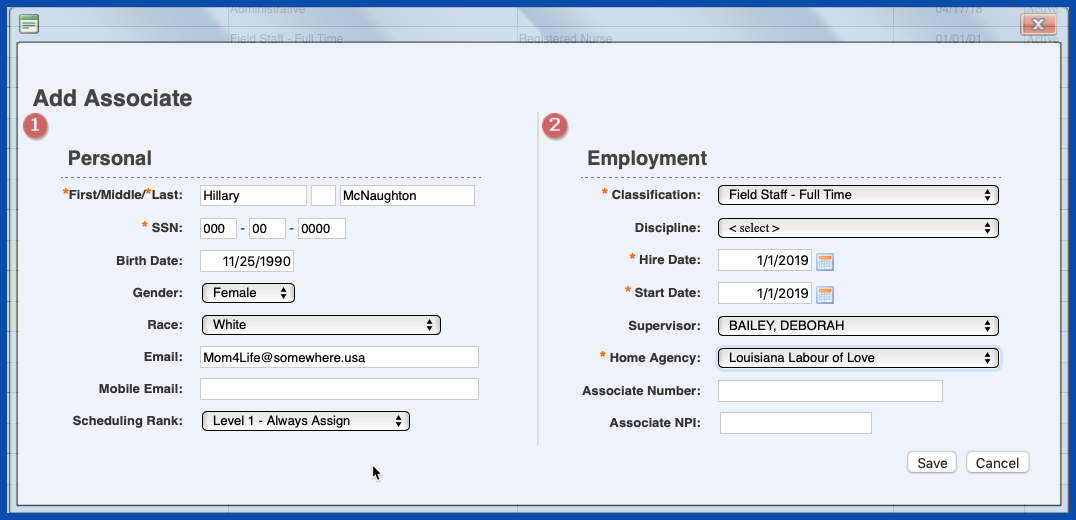
The Add Associate Dialog box appears. Enter the required information (labels with an * in front of them) and select the SAVE button. Note that these items are the minimum information required to establish the Associate master file record. Other items may be required for reporting purposes (i.e., Birth Date, Gender, Race, etc)
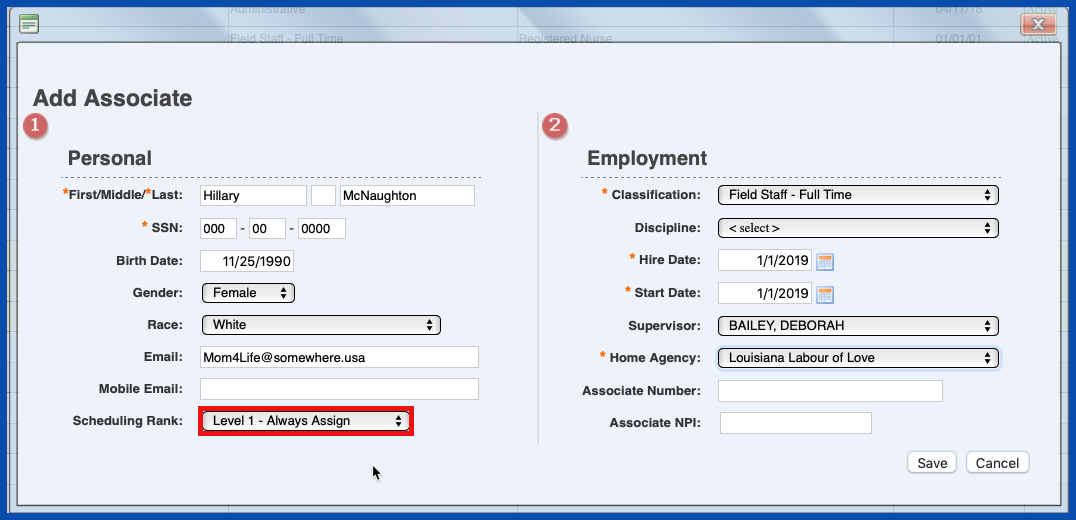
Click here to learn more about Scheduling Rank. This is used as for scheduling purposes.
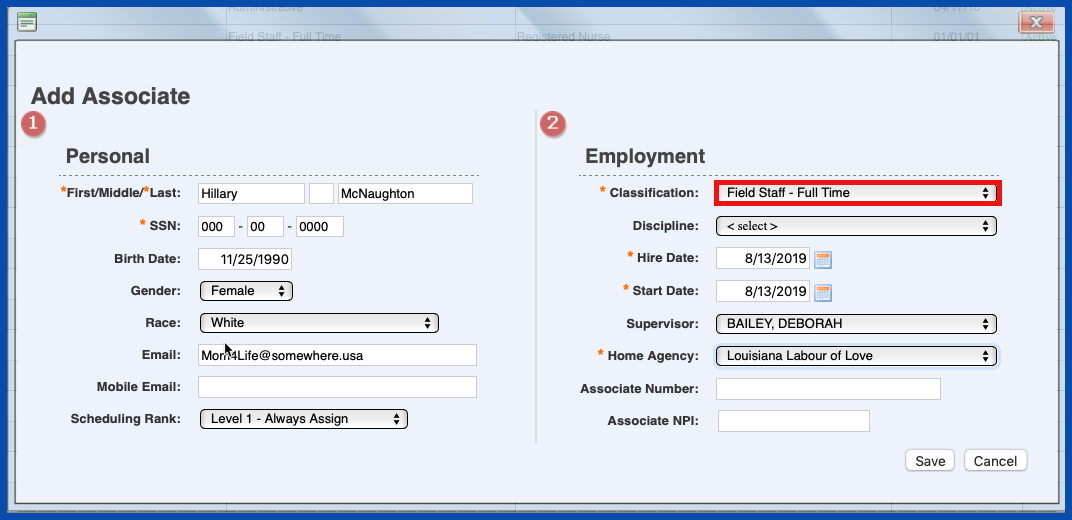
Choose the "Classification" of your associate.
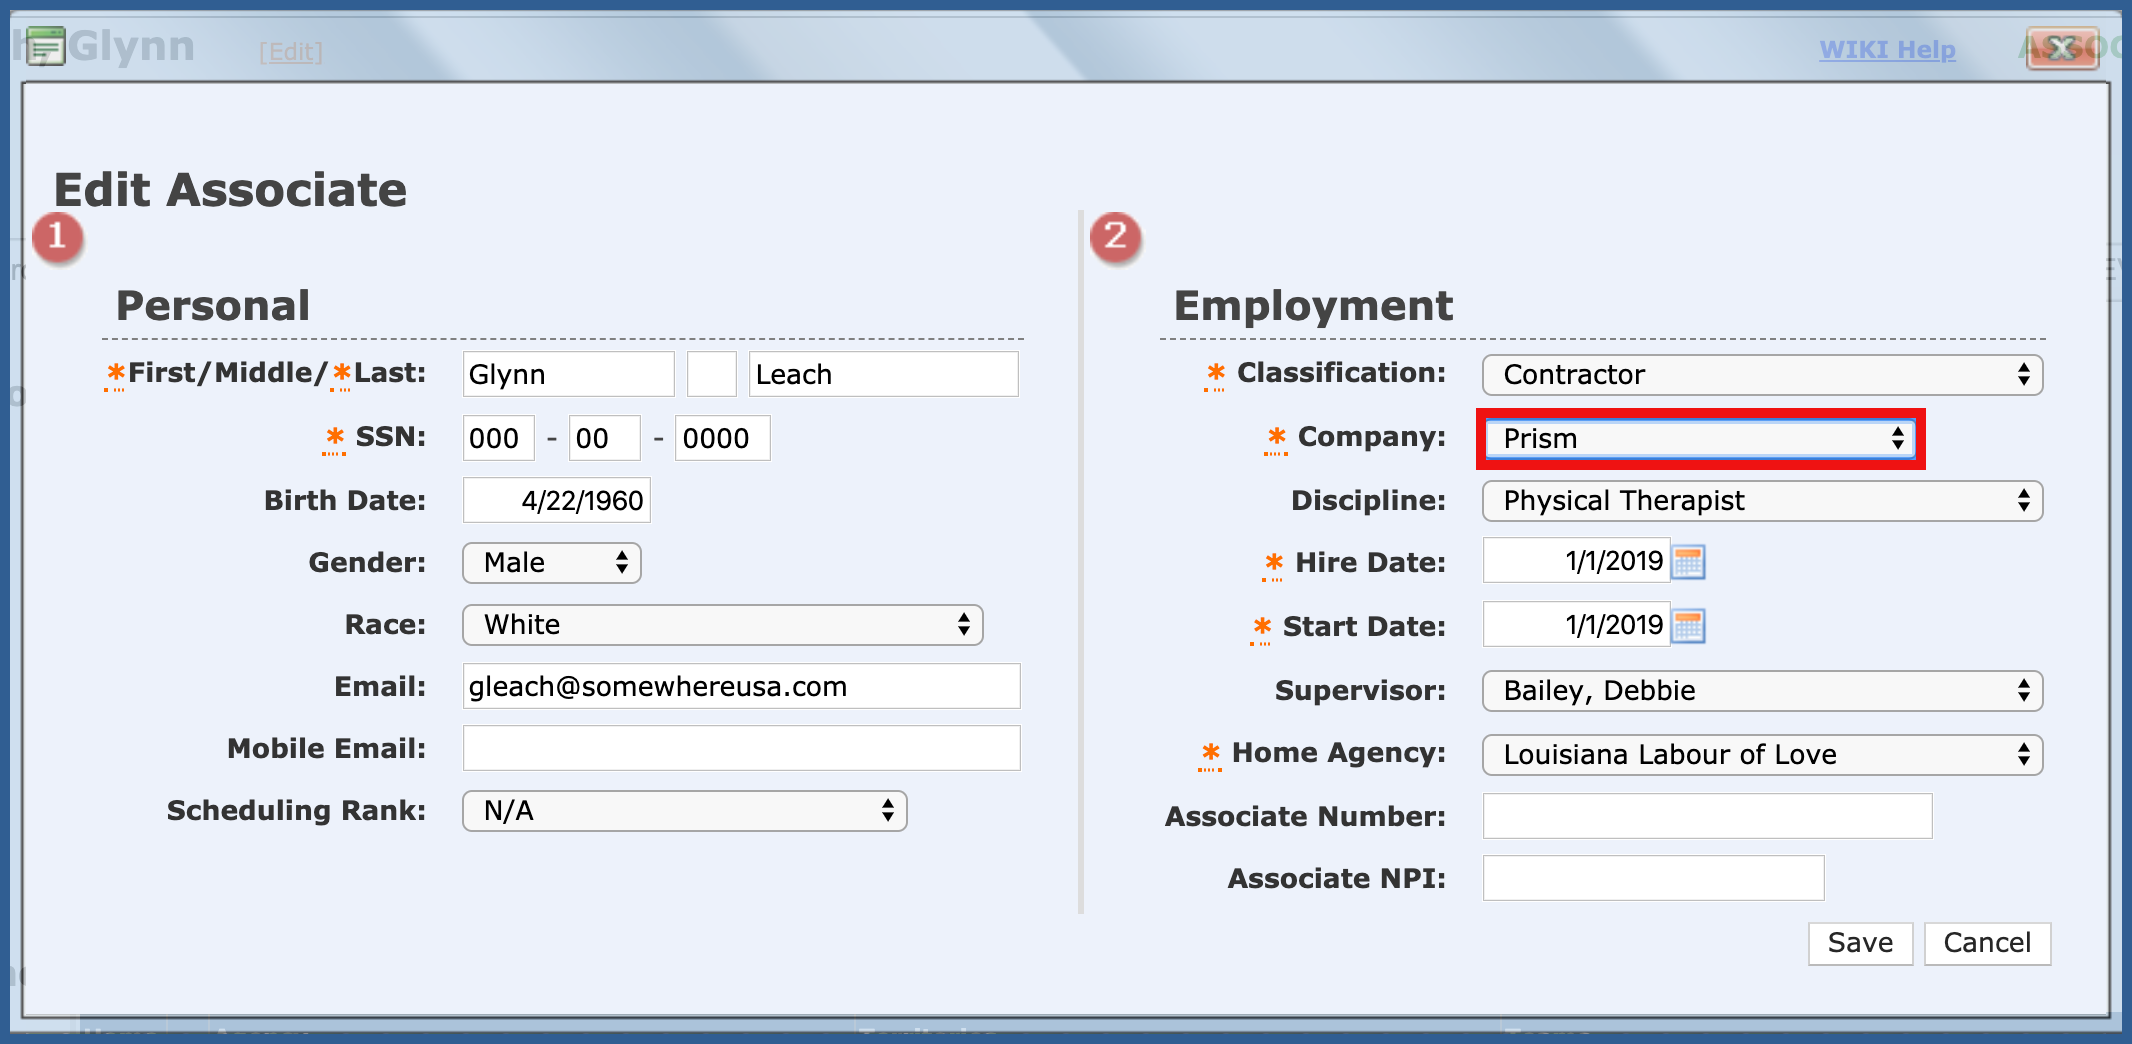
If you choose the classification of contractor, you will also be prompted for the Company.
NOTE: For Careficient Agency Administrators, click here to learn more about setting up Contractors Companies in the lookup tables.
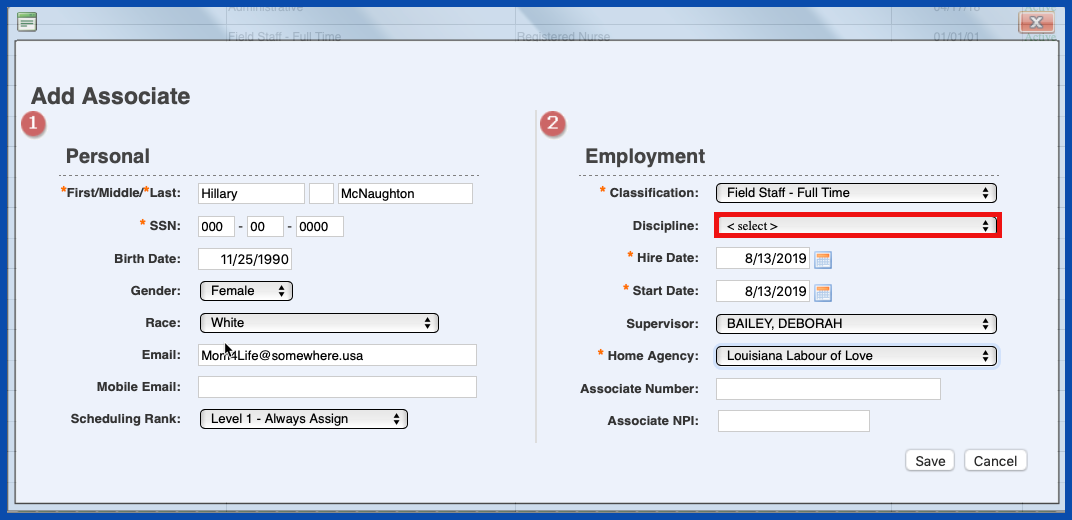
Choose the "Discipline" of your associate.
NOTE: For Careficient Agency Administrators, "Discipline" is driven by the "Associate Discipline Type" in the lookup tables.
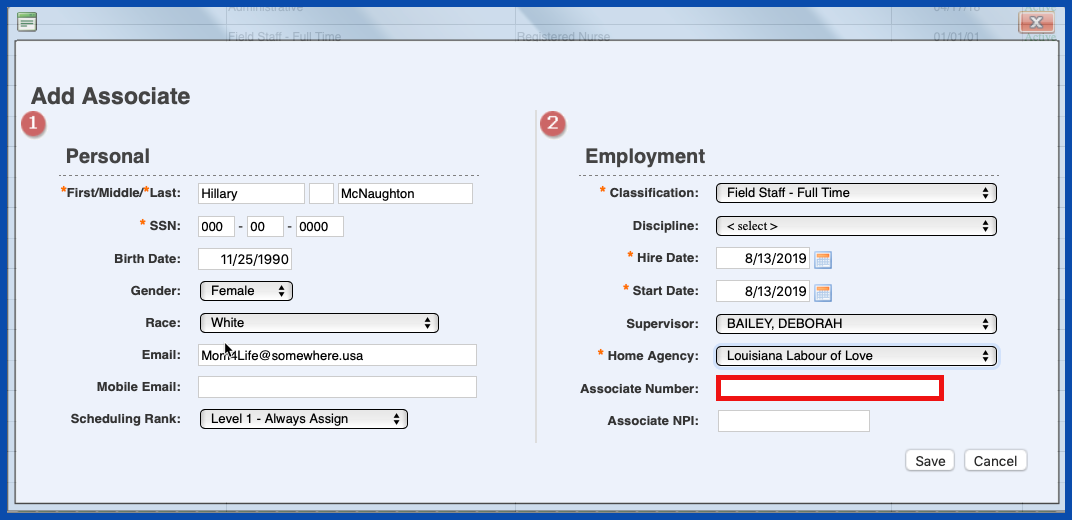
Enter the "Associate Number" if you required one.
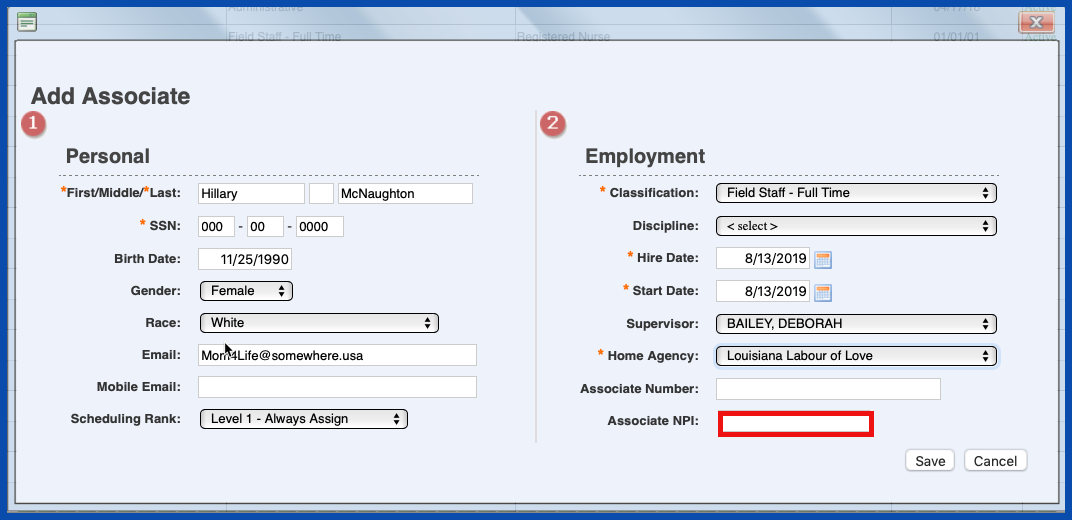
The Associate master file lets you enter an NPI for an Associate if necessary. You typically leave this field blank, however, there are some payment sources that require your associates to have an NPI or they will deny payment for any service that the Associate provides that does not have an NPI. Enter the Associate's NPI as necessary. Select the SAVE button when you have completed entering information.
This will take you to the Associate's Master File. To learn more about the options within the "Associate Master File". Click below to learn more about the Tabs in the Associate File.