ASSOCIATES LIST  


The Associate Menu option gives you the ability to add new associates, view an alphabetical listing of all associates setup for your Organization, lets you to filter by Associate's "home" Agency (if you have access to multiple agencies) classification, discipline and status.  You can also print a list of Associates based on the filters you use as well as Associate Caseload reports.  To access the "Associates" information, go to Resources menu > Associates option.

NOTE: For Careficient Agency Administrators, click on the following to learn more about “Associate” privileges:  View Associates.

.

The associate list screen shows 

WIKI HELP  (Top)

WIKI Help links appear at the top of each module search screen as well as within the “basic information” section that pertains to each module you access. 

Once you click on the WIKI Help link, you will be presented with a pop-up of Help Articles associated with the specific part of the application that you are in.  Clicking on the link will take you to the WIKI article on the subject.

SORT/FILTER INFORMATION  (Top)

You can sort each column by clicking on one of the column titles

You can filter this list by Associate’s Home Agency...

Classification...

Discipline...

Or Status.

You can also save the filters by selecting the "lock" icon . Each time you return to this menu option, the filters you previously saved are used to display the information on the screen.

SEARCHING FOR AN ASSOCIATE  (Top)

You can search for specific associates by entering their name in the search box.  You can search by any portion of the first or last name.

Once you have entered the name, select the SEARCH button.  This will bring up a display of all the associates that include the name you entered as their first or last name.   

VIEWING ASSOCIATE DEMOGRAPHICS  (Top)

Hover over the "address book" icon to view all addresses and phone numbers for the Associate.  


Preferred Address/Phone number is in bold print.

DELETE ASSOCIATE  (Top)

To delete an associate, click on the trash can icon  .  If you have previously used the Associate within other areas of the application (i.e., Scheduling), you will not be able to delete the Associate from Careficient.  

NOTE: For Careficient Agency Administrators, click on the following to learn more about “Associate” privileges:  Delete Associate.

VIEW ASSOCIATE   (Top)

To view an associate's detail master file, you can either select the Patient's name (name is orange link)... 

or select the magnifying glass icon .  This will take you to the associates master file.  

ADD ASSOCIATE  (Top)

To add an associate click on the Add Associate link

NOTE: For Careficient Agency Administrators, click on the following to learn more about “Associate” privileges:  Add Associate.

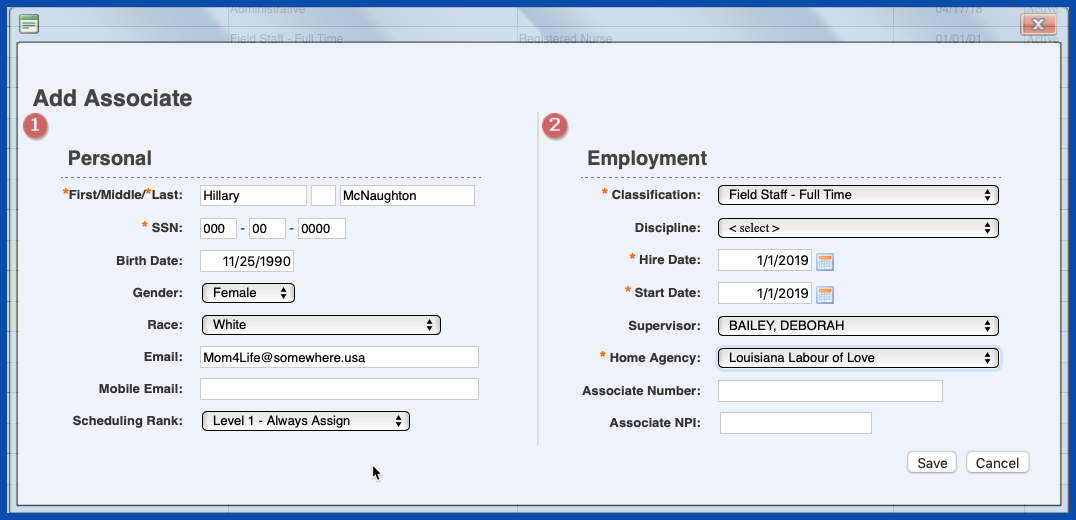
The Add Associate Dialog box appears.  Enter the required information (labels with an * in front of them) and select the SAVE button.   Note that these items are the minimum information required to establish the Associate master file record.   Other items may be required for reporting purposes (i.e., Birth Date, Gender, Race, etc)  
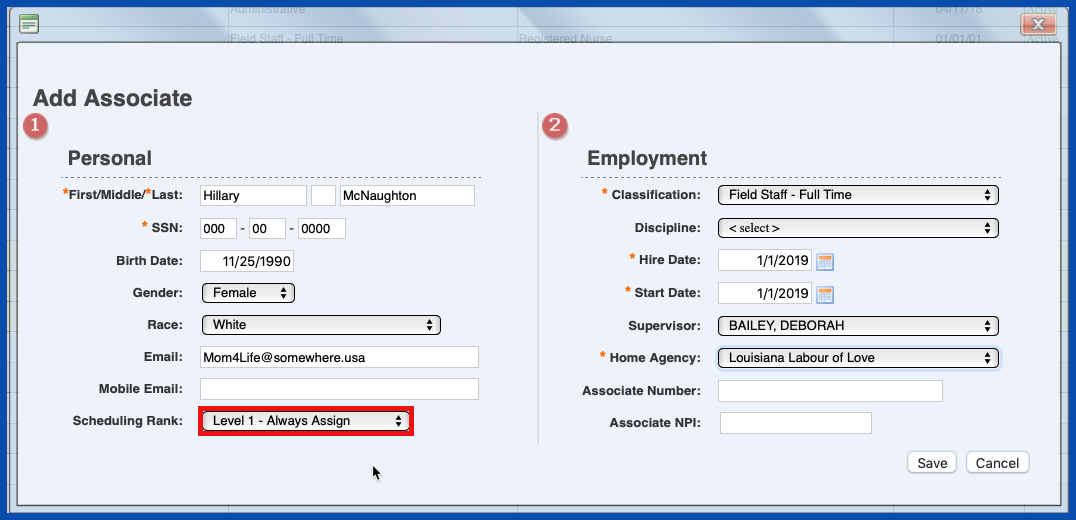
Click here to learn more about Scheduling Rank This is used as for scheduling purposes.
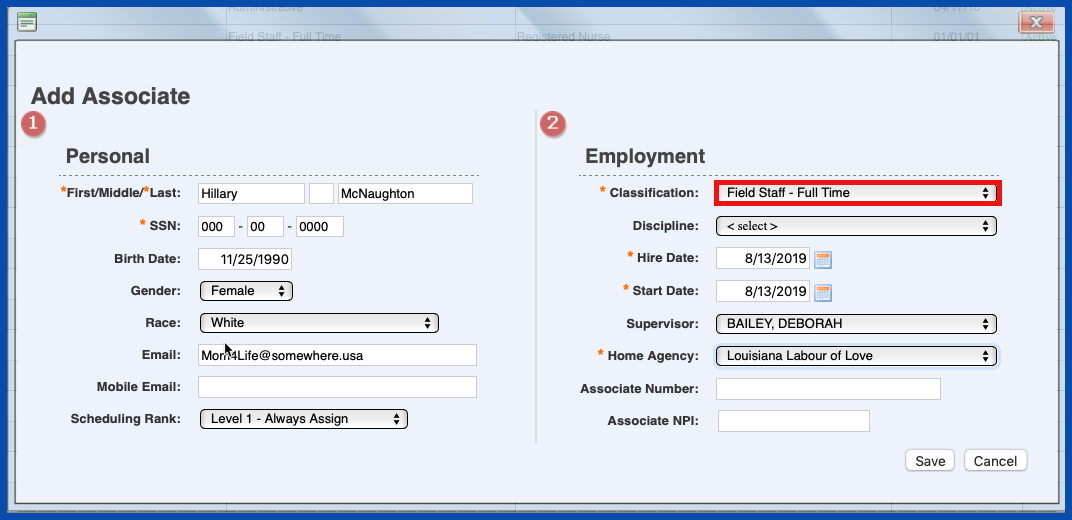
Choose the "Classification" of your associate. 
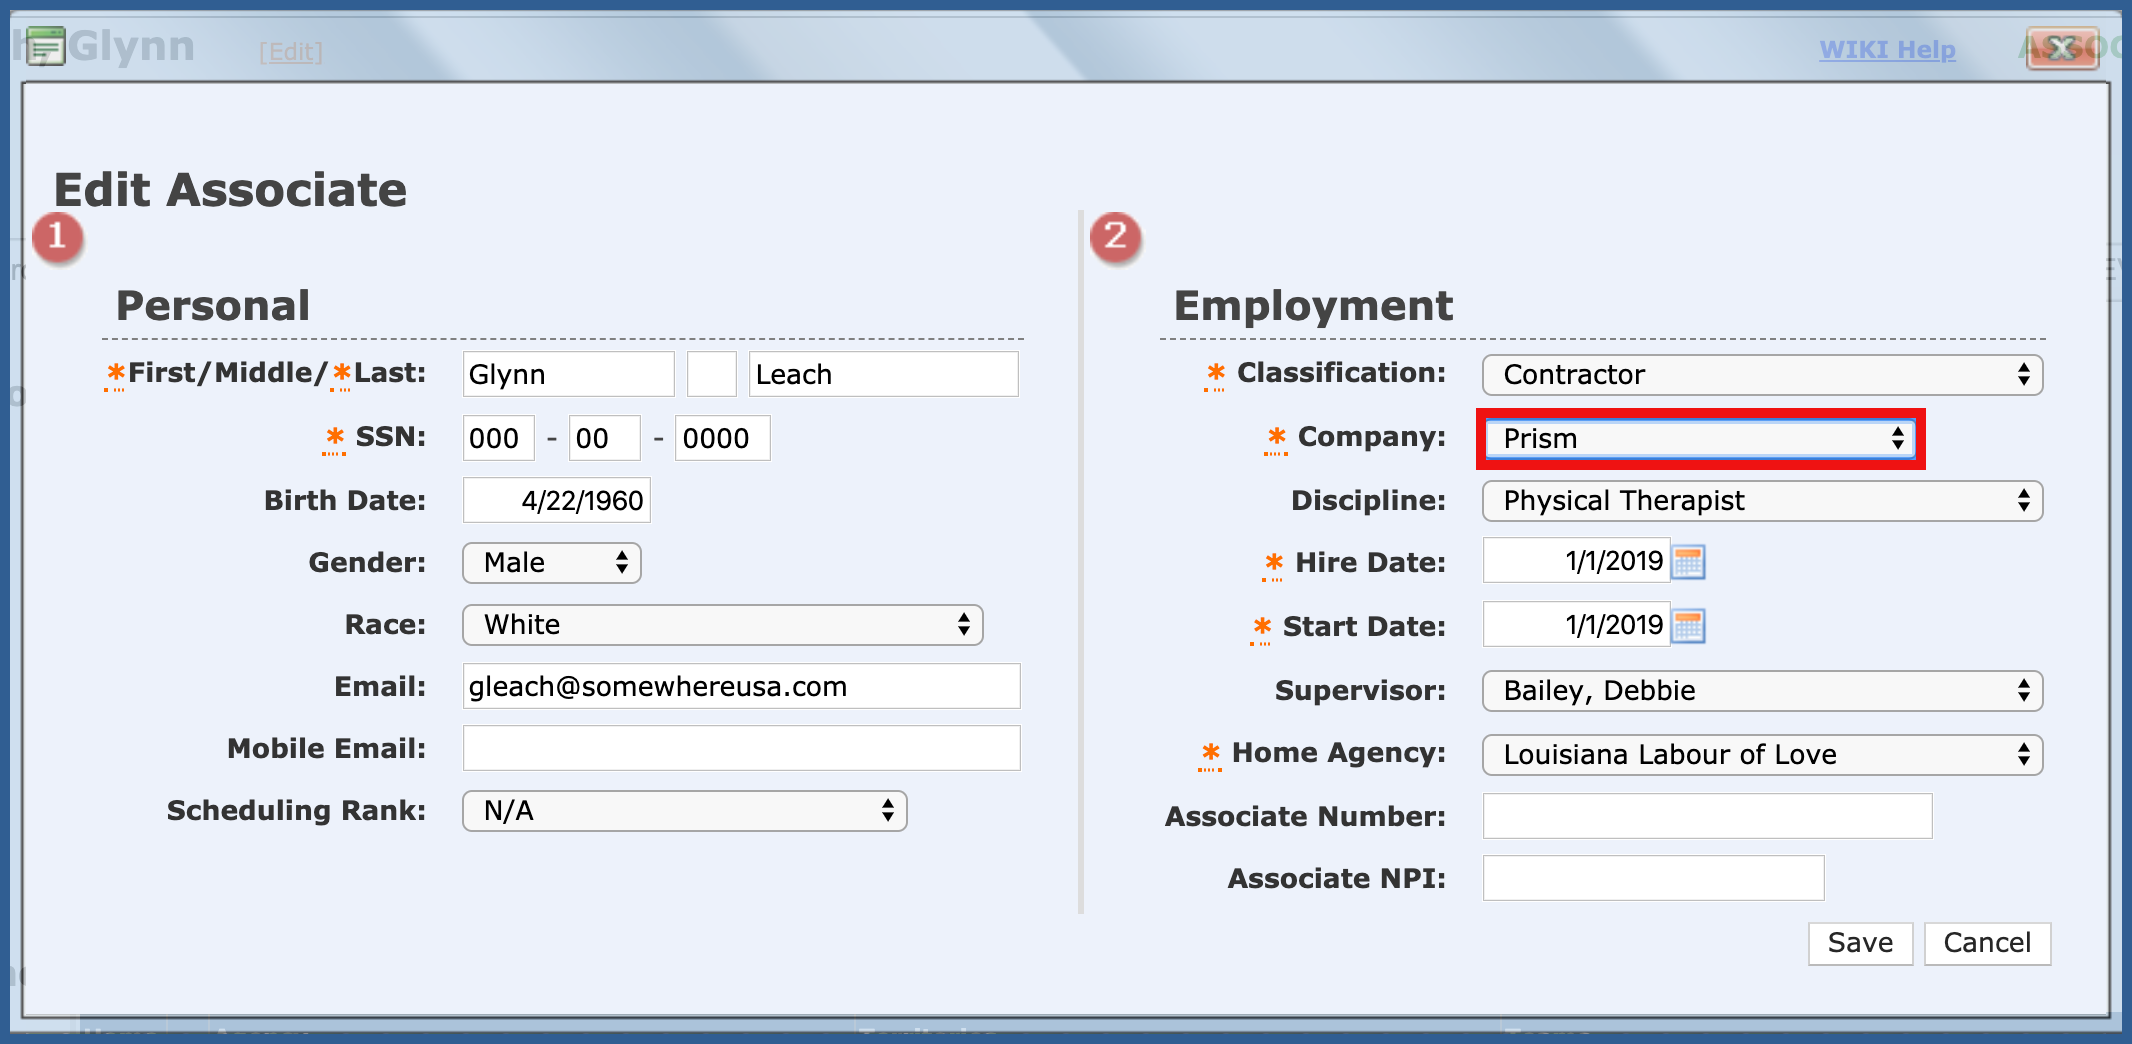
If you choose the classification of contractor, you will also be prompted for the Company. 

NOTE: For Careficient Agency Administrators, click here to learn more about setting up Contractors Companies in the lookup tables. 
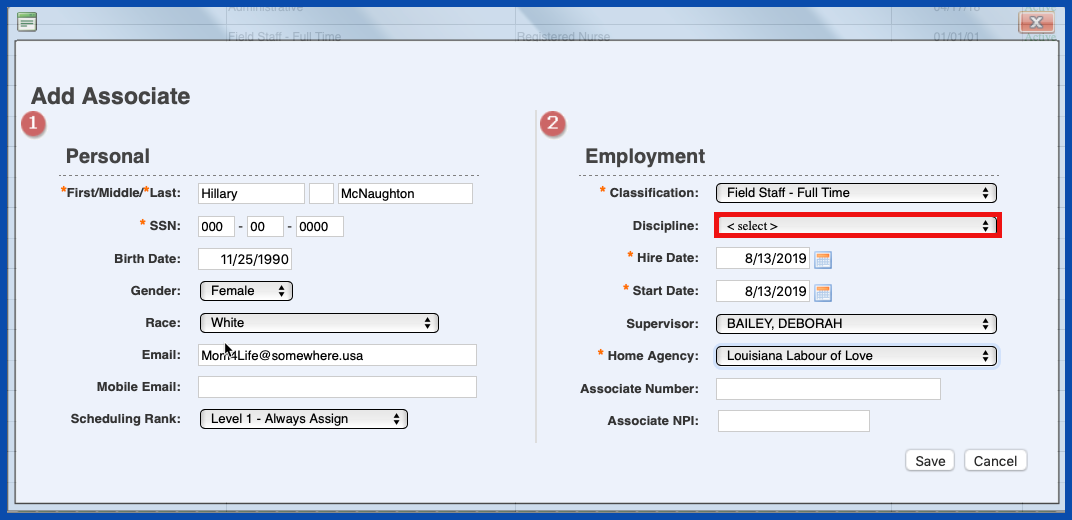
Choose the "Discipline" of your associate.  

NOTE: For Careficient Agency Administrators, "Discipline" is driven by the "Associate Discipline Type" in the lookup tables.
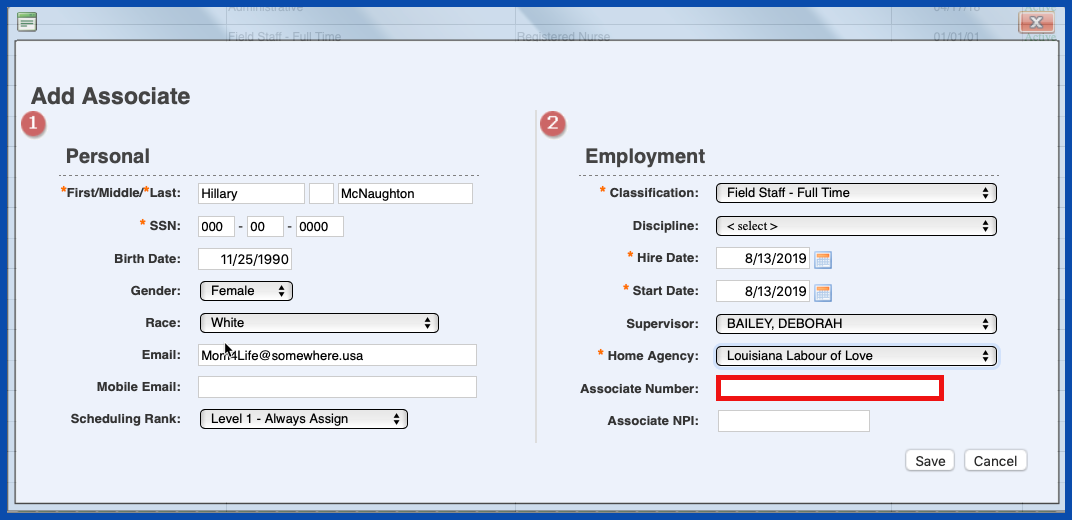
Enter the "Associate Number" if you required one.
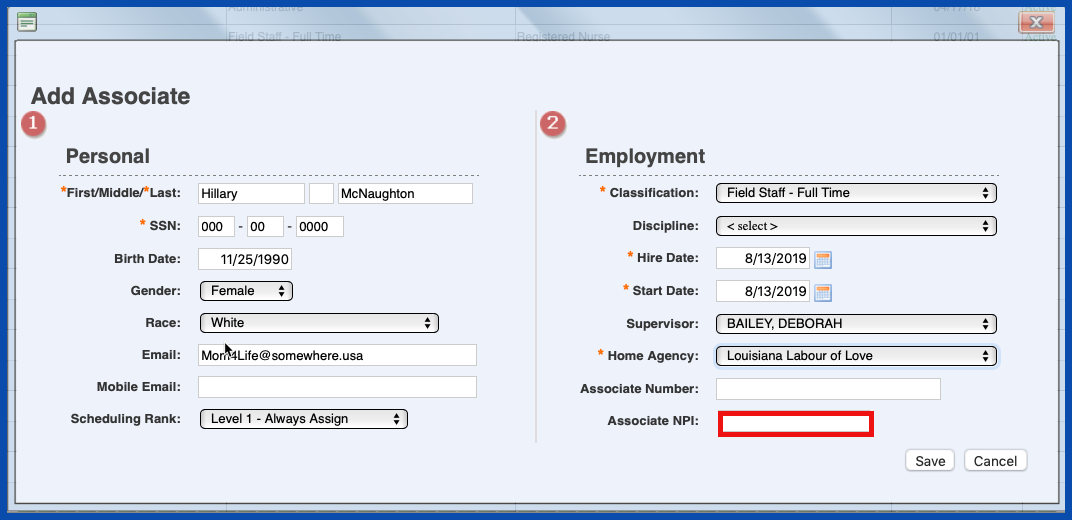
The Associate master file lets you enter an NPI for an Associate if necessary. You typically leave this field blank, however, there are some payment sources that require your associates to have an NPI or they will deny payment for any service that the Associate provides that does not have an NPI.  Enter the Associate's NPI as necessary.  Select the SAVE button when you have completed entering information.  
This will take you to the Associate's Master File. To learn more about the options within the "Associate Master File". Click below to learn more about the Tabs in the Associate File.

PROFILE TAB  (Top)

Associates Profile Tab

CONTACTS TAB  (Top)

Associates Contacts Tab

WEBSITE TAB  (Top)

Associates Website Tab

NOTES TAB  (Top)

Associates Notes Tab

AVAILABILITY TAB  (Top)

Associates Availability Tab

COMPLIANCE TAB  (Top)

Associates Compliance Tab

PAYROLL TAB  (Top)

Associates Payroll Tab

PAY RATES TAB  (Top)

Associates Pay Rates Tab

DOCUMENTS TAB  (Top)

Associates Documents Tab

EVV TAB  (Top)

Associates EVV Tab  (Top)


EDIT ASSOCIATE   (Top)

At the top of the Associate File, you will see the header which includes basic information for the associate.  To edit this information, click on the "Edit" link to the right of the associates name.  

NOTE: For Careficient Agency Administrators, click on the following to learn more about the privileges for editing associates:  Edit Associate.

You will also note that there is a WIKI Help Link on the Associate Header.  

Once you click on the WIKI Help link, you will be presented with a pop-up of Help Articles associated with the specific part of the application that you are in.  Clicking on the link will take you to the WIKI article on the subject. 


ASSOCIATE REPORTS  (Top)

Once you have the information you want to view based on the filters you select, you can also export the information to one of the following reports:

Associate List XLS

  • Associate
  • Associate Number
  • Status
  • Discipline
  • Hire Date
  • Start Date
  • Termination Date
  • Territory Name
  • Preferred Phone

Associate List PDF

  • Associate
  • Associate Number
  • Status
  • Discipline
  • Hire Date
  • Start Date
  • Termination Date
  • Territory Name
  • Preferred Phone

Associate Caseload XLS

  • Associate Name
  • Patient Name
  • Status
  • Facility Name
  • Address Type
  • Address
  • Phone
  • MRN
  • DOB
  • Cert From
  • Cert To
  • Discipline
  • Frequency
  • Per
  • Duration

Associate Caseload PDF

  • Agency
  • Associate
  • Patient Name
  • Status
  • Facility Name
  • Type
  • Address
  • Phone
  • MRN
  • DOB
  • Cert From
  • Cert To
  • Discipline
  • Frequency
  • Per
  • Duration

Once you have determined which report you want to view from the "export" dropdown list, click the EXPORT button.