ASSOCIATES COMPLIANCE TAB 
The associates compliance tab provides you with the ability to set up and track employment requirements, medical requirements, license and skills. It tracks both initial completion dates as well as renewal dates.
The standard employment and medical requirements are initially set-up but you can customize them in Settings > Lookup Tables > Associate Support Tables > Compliance. Missing or expired compliance requirements will display in workbasket for resolution under Associate > Associate Compliance.
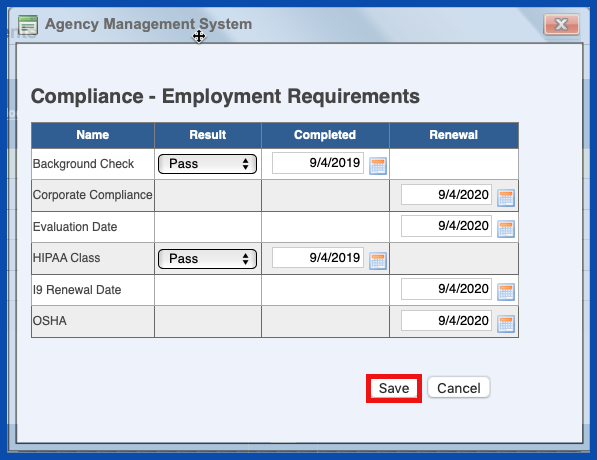
When you first enter the associates compliance there are two ways, either click on the green plus sign to the right of the compliance item or the quicker of the two ways would be to click on the "Edit Employment Requirements" link.
NOTE: For Careficient Agency Administrators, click on the following to learn more about the privileges for View Associate Compliance.

Enter the required information and either the completed date or the renewal date. Click "Save" when you have finished entering items.
ADD EMPLOYMENT COMPLIANCE (Top)
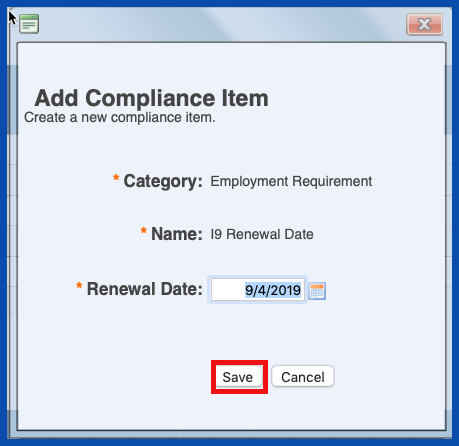
To add a compliance item individually, click on the green plus sign to the right of the item.
NOTE: For Careficient Agency Administrators, click on the following to learn more about the privileges for Add Associate Compliance.

Enter the required information and click "Save" when you have finished.
EDIT EMPLOYMENT COMPLIANCE (Top)
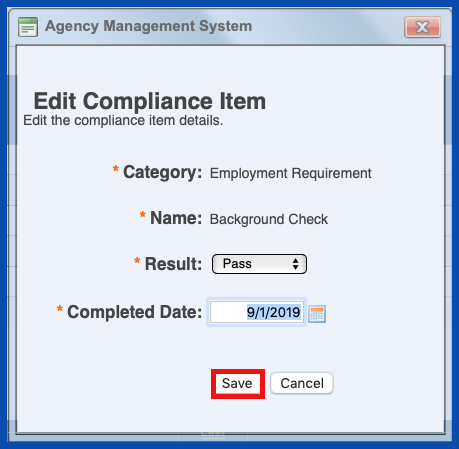
To edit a compliance item, click on the edit pencil to the right of that item.
NOTE: For Careficient Agency Administrators, click on the following to learn more about the privileges for Edit Associate Compliance.

Make the necessary changes and click "Save" when you are finished.
You can determine whether or not an associate is compliant with a quick glance at the "Compliant" column. Green indicates they are compliant and Red indicates they are not.

FLAG AS NOT NEEDED (Top)
There are times that you may have items that do not pertain to a certain employee. You can flag the item and not needed by clicking on the "Flag As Not Needed" icon. If you have previously entered a date on an item, you can not flag it as not needed unless you delete the information first. To delete information entered in a compliance item, click on the "Trash Can".

Click "Save" to confirm the change.
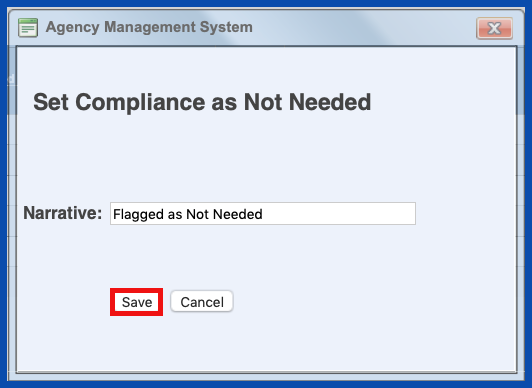
This will add a comment "Flagged As Not Needed" so that you will be able to determine which items are not needed at a glance.

UNDO NOT NEEDED (Top)
To undo an item that has been flagged as not needed, click on the "Undo Not Needed" icon.

You will be prompted to confirm. Click "Ok".

DELETE EMPLOYMENT COMPLIANCE (Top)
To delete a compliance item, click on the "Trash Can". This does not delete the compliance item itself, but will delete any entry that you have entered within that item.
NOTE: For Careficient Agency Administrators, click on the following to learn more about the privileges for Delete Associate Compliance.

You will be asked if you are sure you want to delete. Click "OK" to confirm.

MEDICAL REQUIREMENTS (Top)
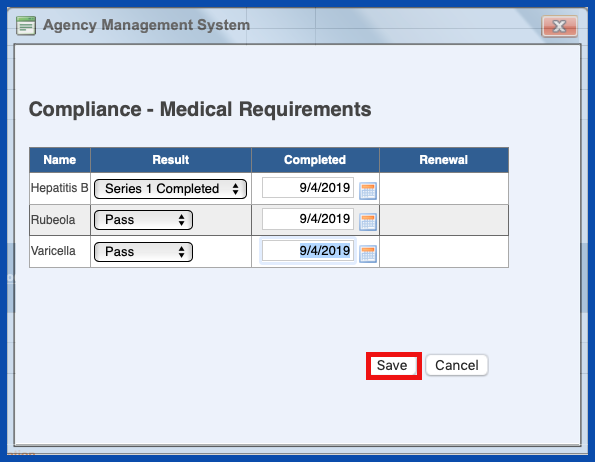
To enter medical requirements, click on "Edit Medical Requirements".
NOTE: For Careficient Agency Administrators, click here to learn more about setting up Compliance in the lookup tables.

Enter the required information and click "Save". The "Add Compliance", "Set As Not Needed", "Undo Not Needed" and "Trash Can" all work the same here as they did in the compliance section.
ADD MEDICAL REQUIREMENTS (Top)
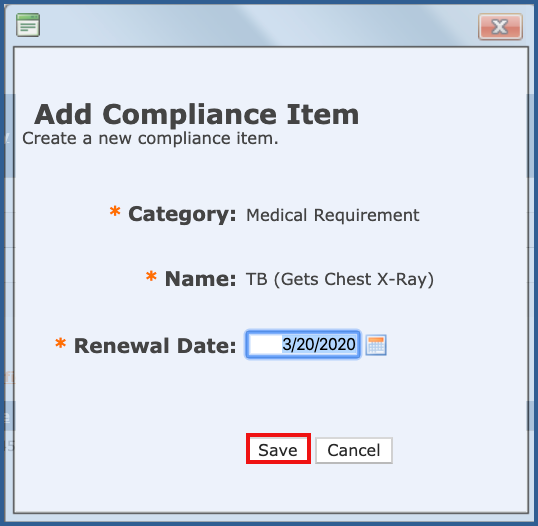
Click on the "Add Compliance Item" Icon, to add a compliance item.

Enter the required information and click “Save”.
EDIT MEDICAL REQUIREMENTS (Top)
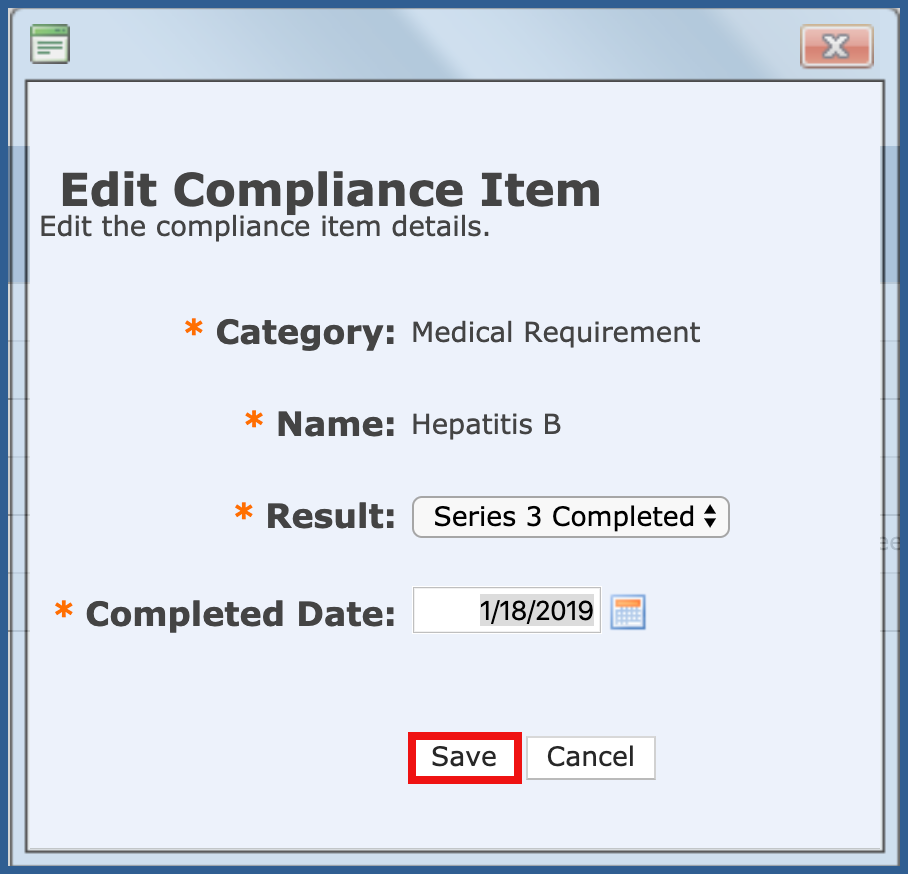
To edit Medical Requirements, click on the "Edit" icon

Make the necessary changes and click "Save or Update".
DELETE MEDICAL REQUIREMENTS
Click on the “Trash Can” icon to delete the Compliance Medical Requirements

You will be asked if you are sure you want to delete. Click "OK" to confirm.

ADD LICENSE/CERTIFICATION (Top)
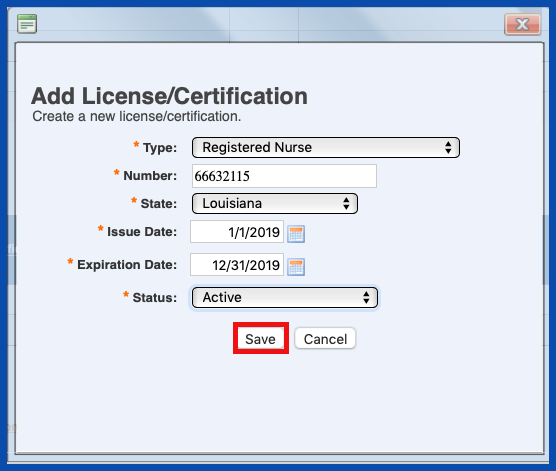
To add a License or Certification, click on the "Add License/Certification" Link.

Choose the type of License/Certification, enter the required information and click "Save".
For Careficient Agency Administrators, click here to learn more about setting up License Type in the lookup tables. Click here to learn more about the privileges for License Type.
EDIT LICENSE/CERTIFICATION (Top)
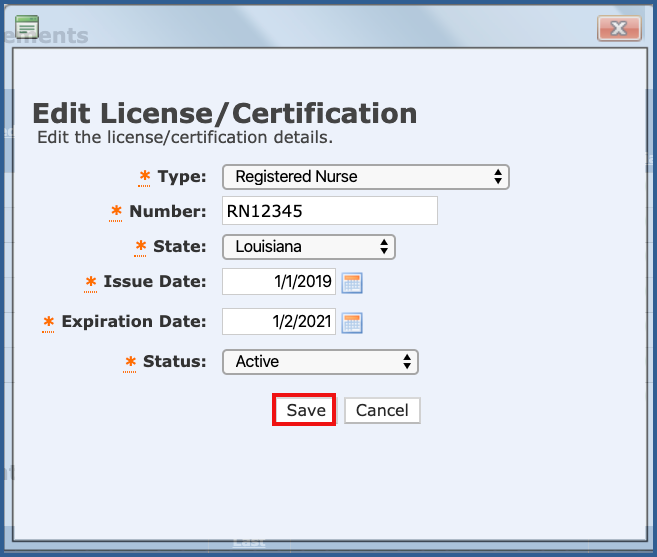
To edit a license/certification, click on the "Edit" link.

Make the necessary changes and click "Save or Update".
Click on the trash can to delete License/Certification.

You will be asked if you are sure you want to delete. Click "OK" to confirm.

ADD SKILL (Top)
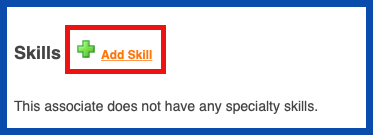
So add a specific skill, click on the "Add Skill" Link.
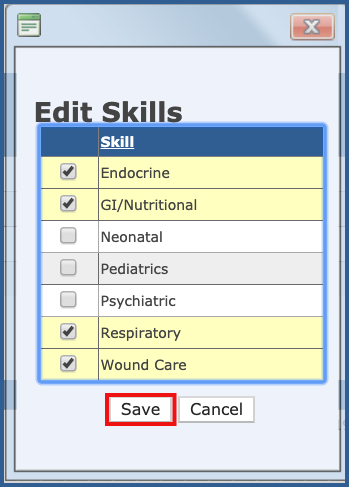
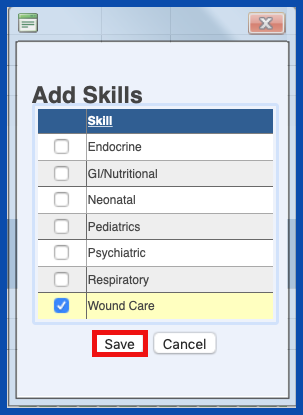
Check the specific skills that pertain to the associate and click "Save".
NOTE: For Careficient Agency Administrators, click here to learn more about setting up Skills in the lookup tables and click here to learn more about the privilege for Skills.
EDIT SKILL (Top)
To edit a skill, click on the "Edit" link.
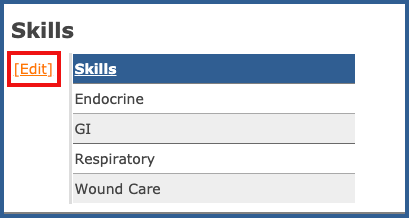
Make the necessary changes and click "Save or Update".
