
REGION MENU OPTION
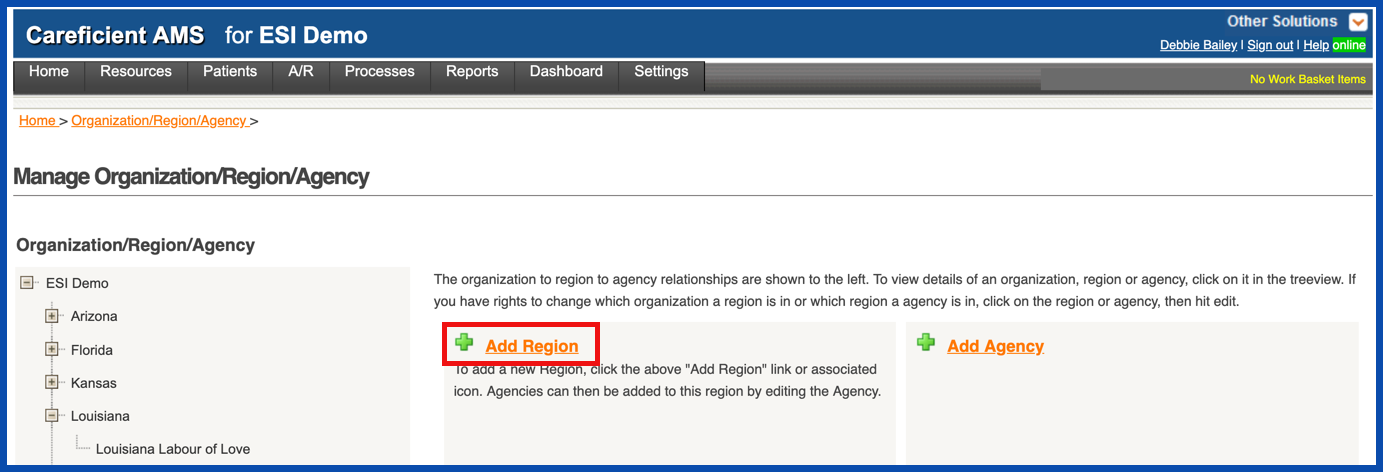
Once your organization is in the system, you can add regions to the hierarchy. To add a region from the Settings menu, select Org/Region/Agency.

ADD REGION
To add a region, click on the "Add Region" link
NOTE: For Careficient Agency Administrators, click here to learn more about the privileges for Add Region.
The "Add Region" dialog displays. Information with an asterisk is required.
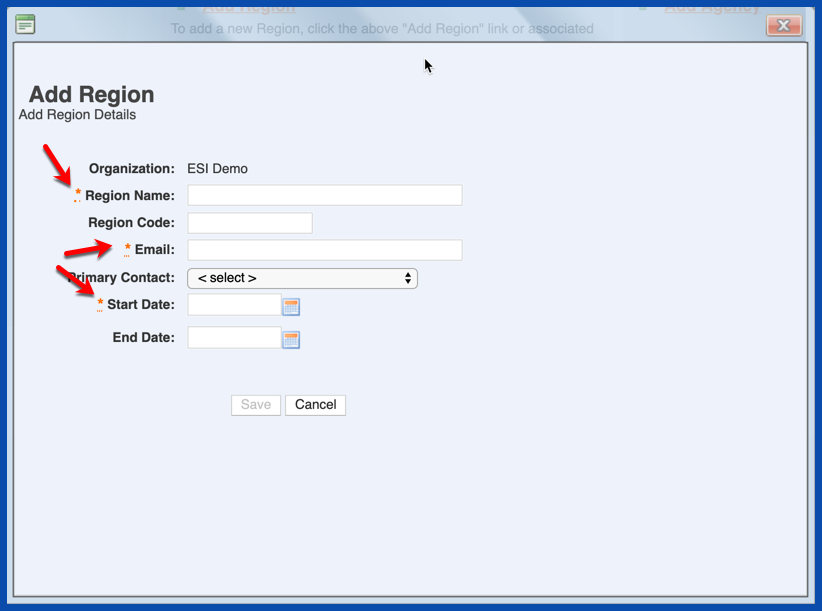
- Region Name - The name for this region. You can create as many regions as you want (with wide or narrow parameters).
- Region Code - Any code (such as billing or zip code) associated with this region.
- Email - The email of the contact person for this region.
- Primary Contact - From the drop-down box, select the name of the user who is the primary contact for this region.
- Start Date - The date you want the region to begin displaying in the hierarchy.
- End Date - Optionally, the final day that you want the region to display in the hierarchy.
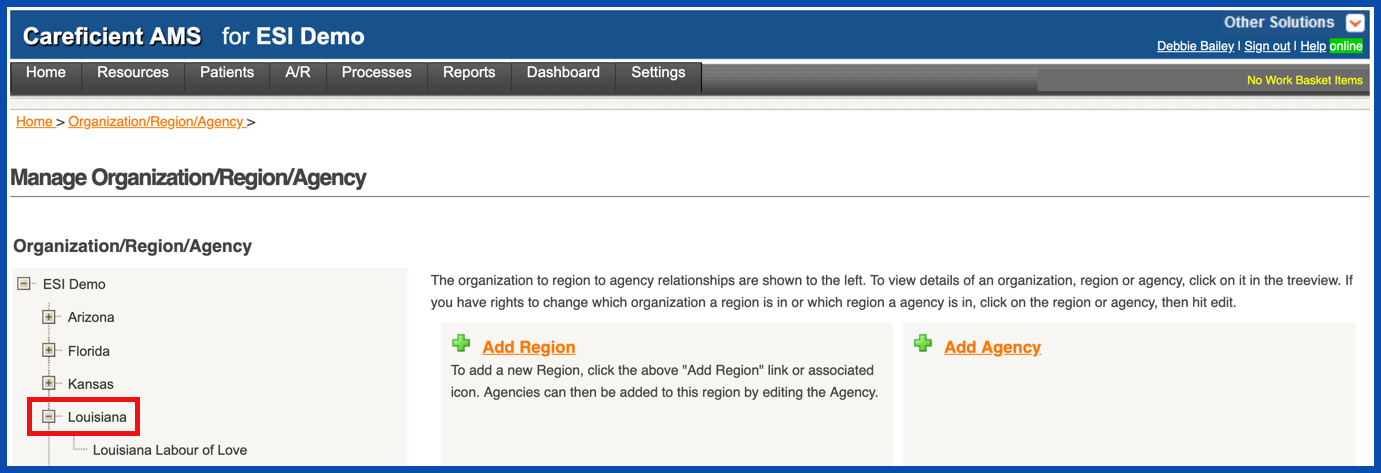
Click "Save". The region you added displays in the 3rd tier of the hierarchy. Click on the region to open the detail page.
NOTE: For Careficient Agency Administrators, click here to learn more about the privileges for View Region.
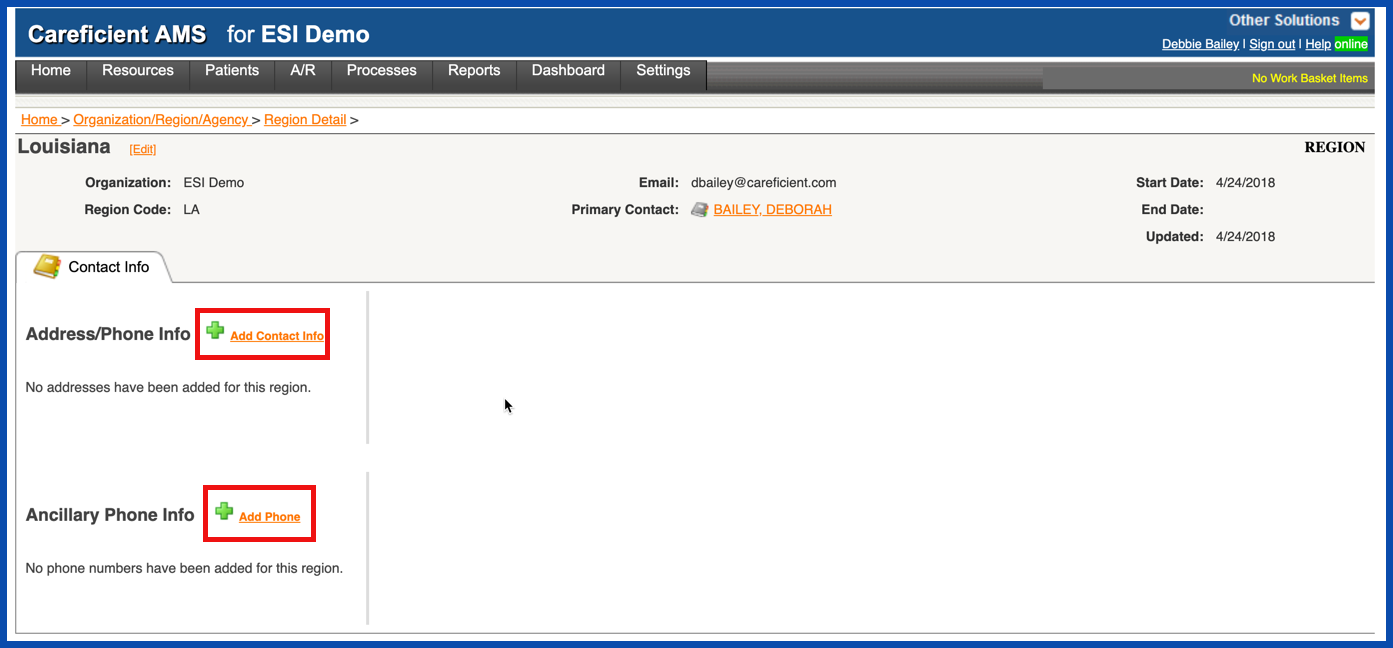
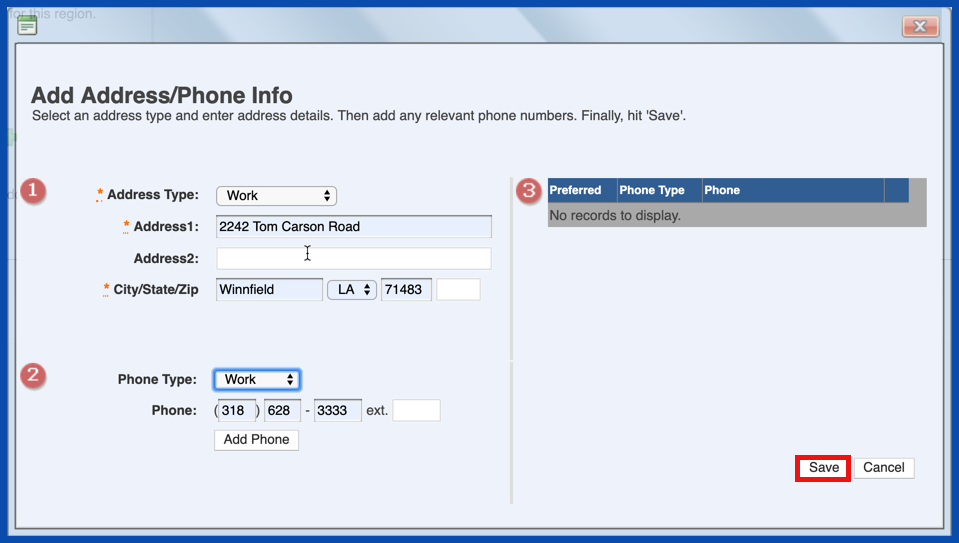
To add more information, click Add Contact Info or Add Phone.
Enter the contact information for the new region and click Save.
EDIT REGION
The new region displays in the hierarchy. Once your organization is in the system, you can add agencies to the hierarchy.
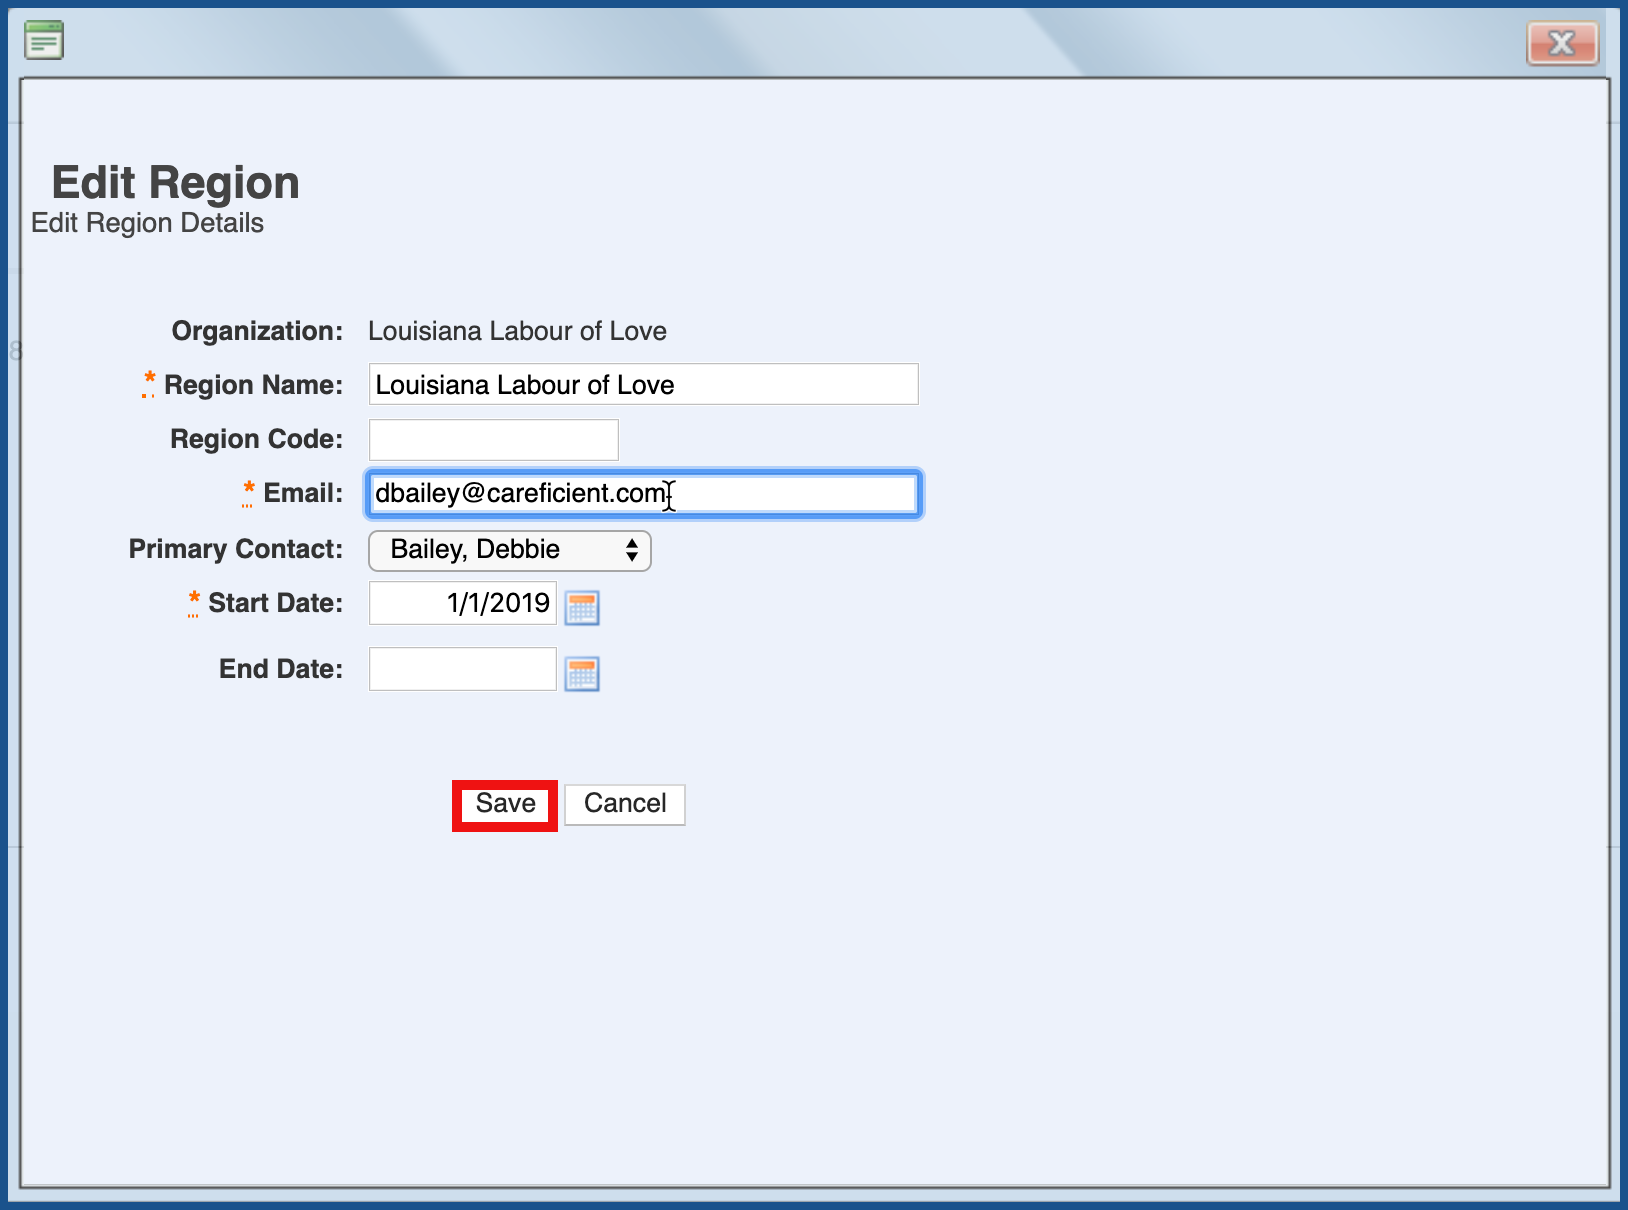
To edit a Region, click on the Edit link.
NOTE: For Careficient Agency Administrators, click here to learn more about the privileges for Edit Region.

Make the necessary changes and click "Save" when you are finished.
DELETE REGION
To delete a Region, click on the "Delete" link to the right of the Region. If the Region is tied to anything else within the system, you will not be able to delete it.
NOTE: For Careficient Agency Administrators, click here to learn more about the privileges for Delete Region.
